


Swaging .224 bullets
Every failure is a lesson learned.

The goal is to swage a 77-grain bullet using a guilded metal Jacket. I’ve done a number of attempts over the last few weeks. None have borne out quite this well. None have left me quite this perplexed.
First, let’s walk through the basic steps.
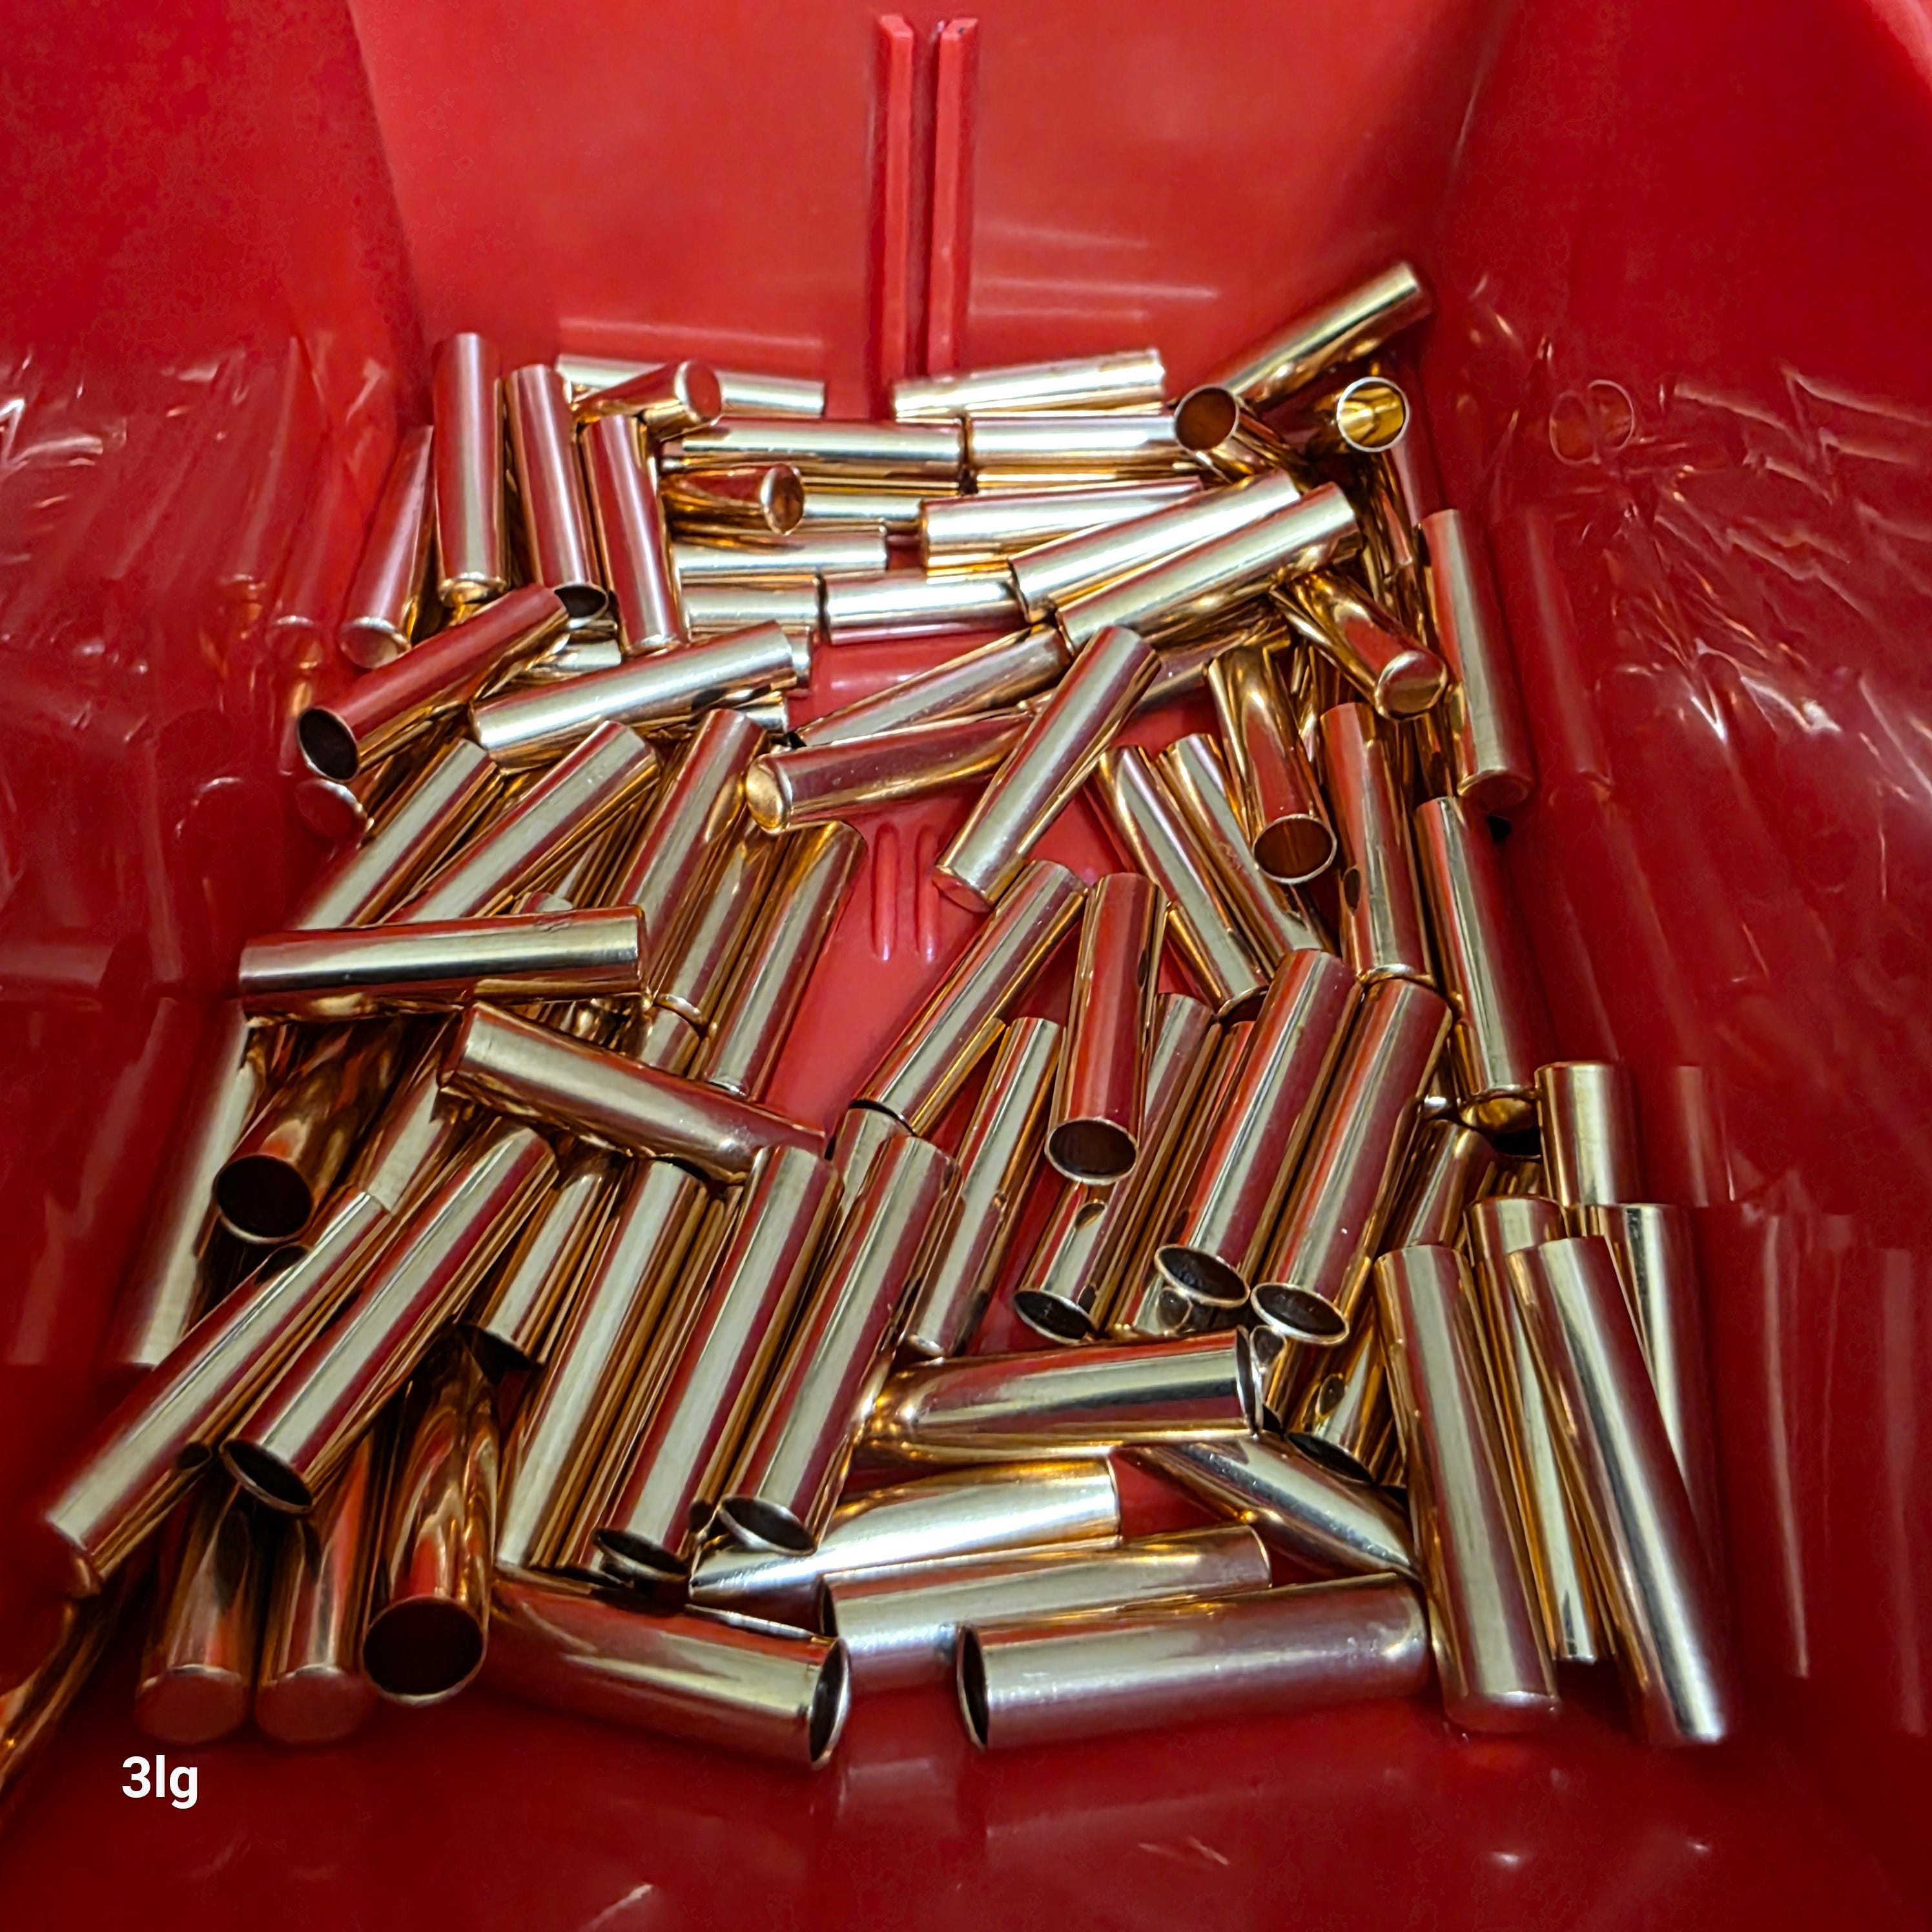
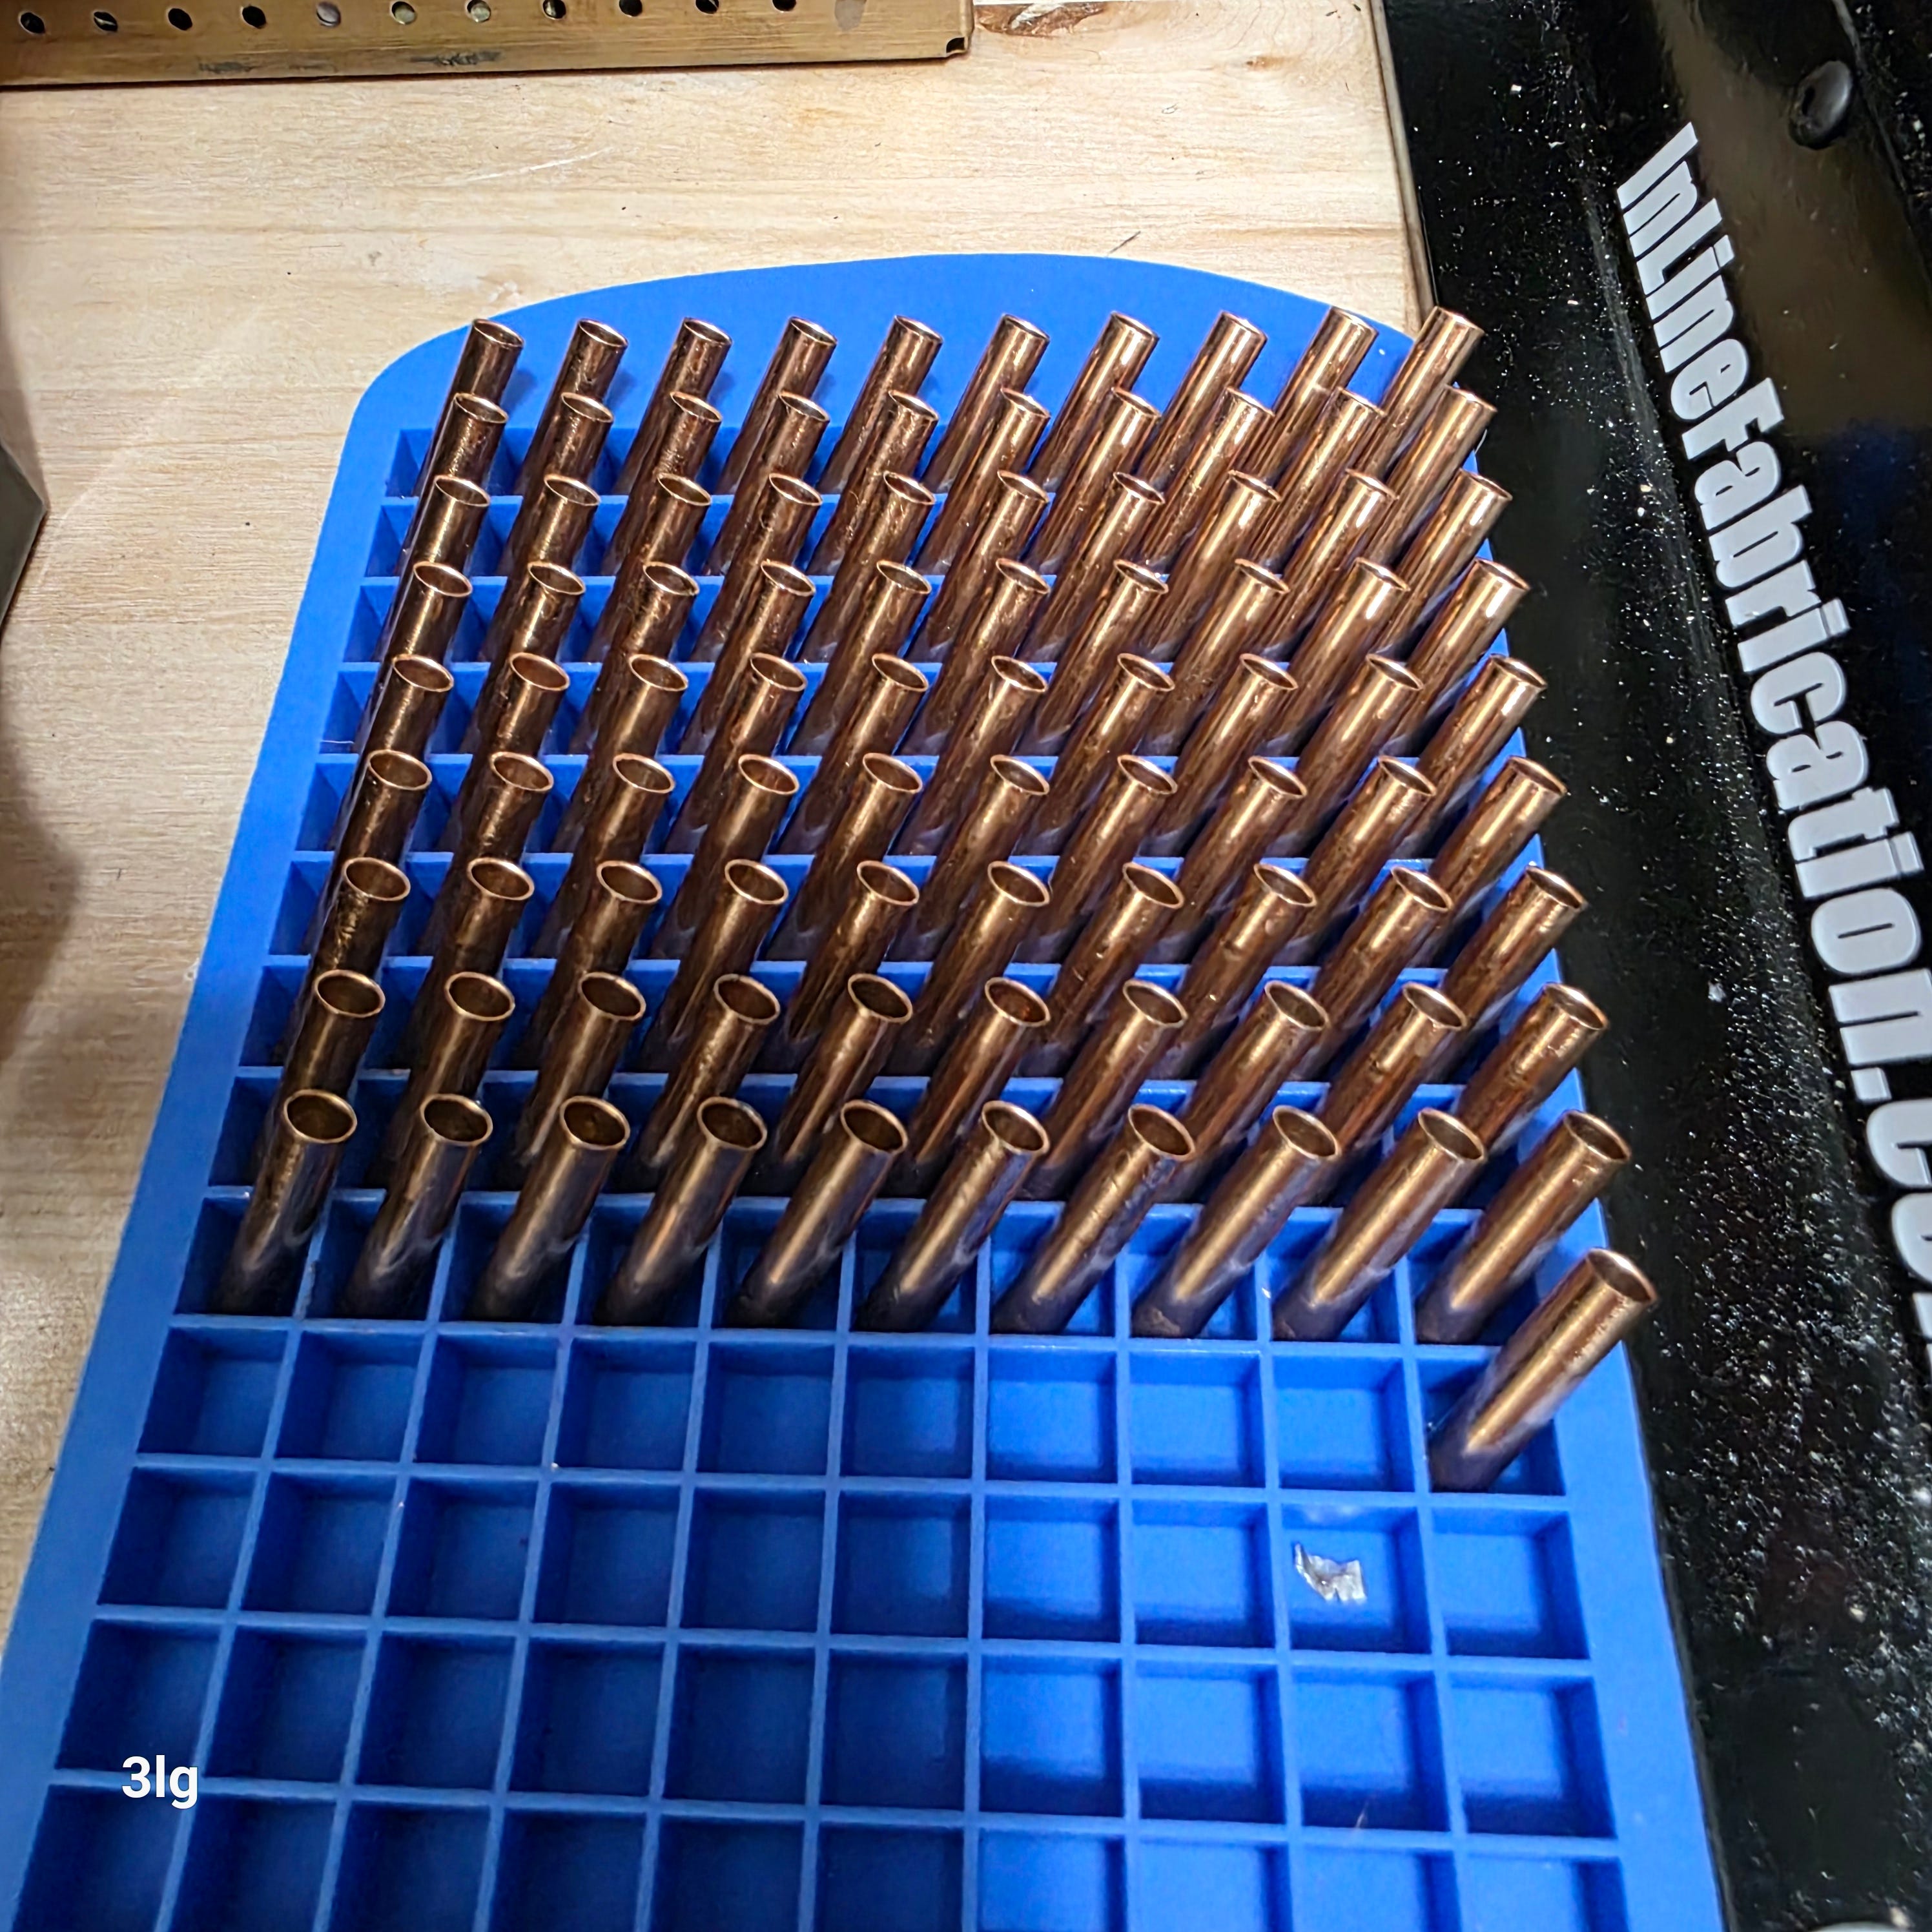
You’ll need a jacket, be it a gilded metal one, as shown here, or another type, such as spent and drawn 22 rimfire cases.
Next, you need a core blank. Swaging is done with 99.9 % pure lead. Trying to swage with a less pure version of lead is more effort and work. It can also lead to cracking and breaking of dies. I typically use a slug of cast 99.9% pure lead wire, a few grains heavier than I need.
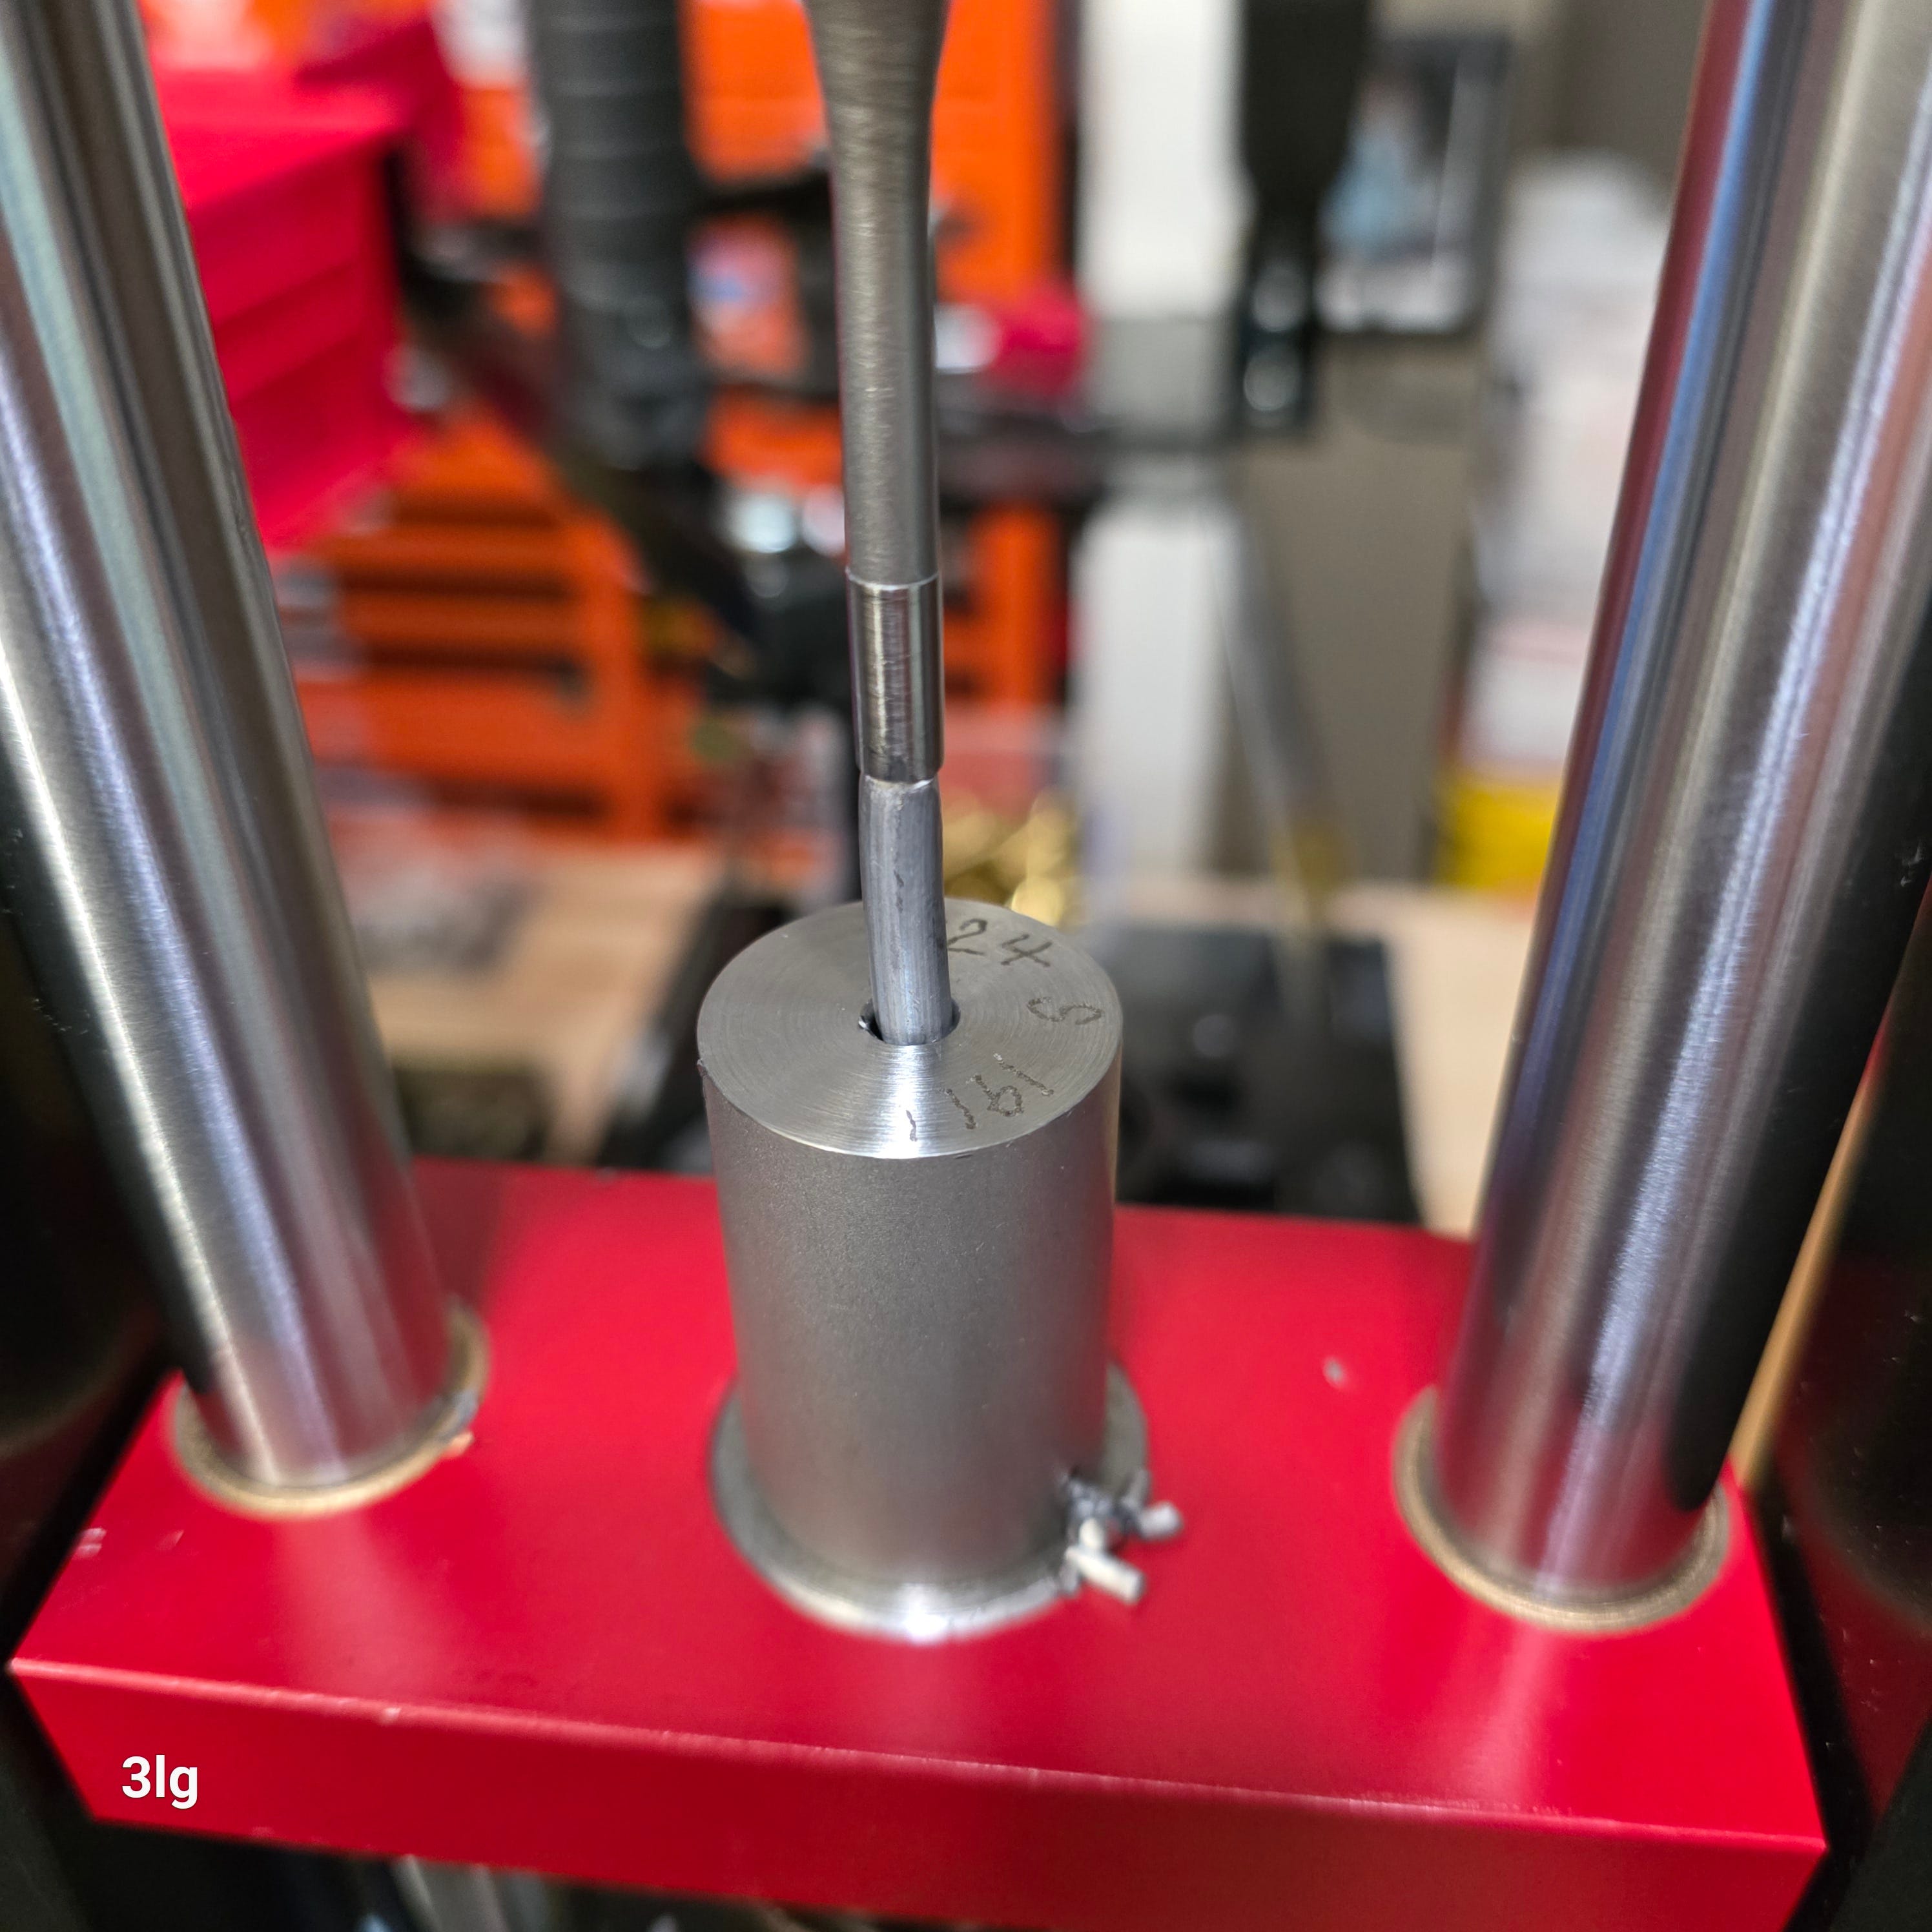
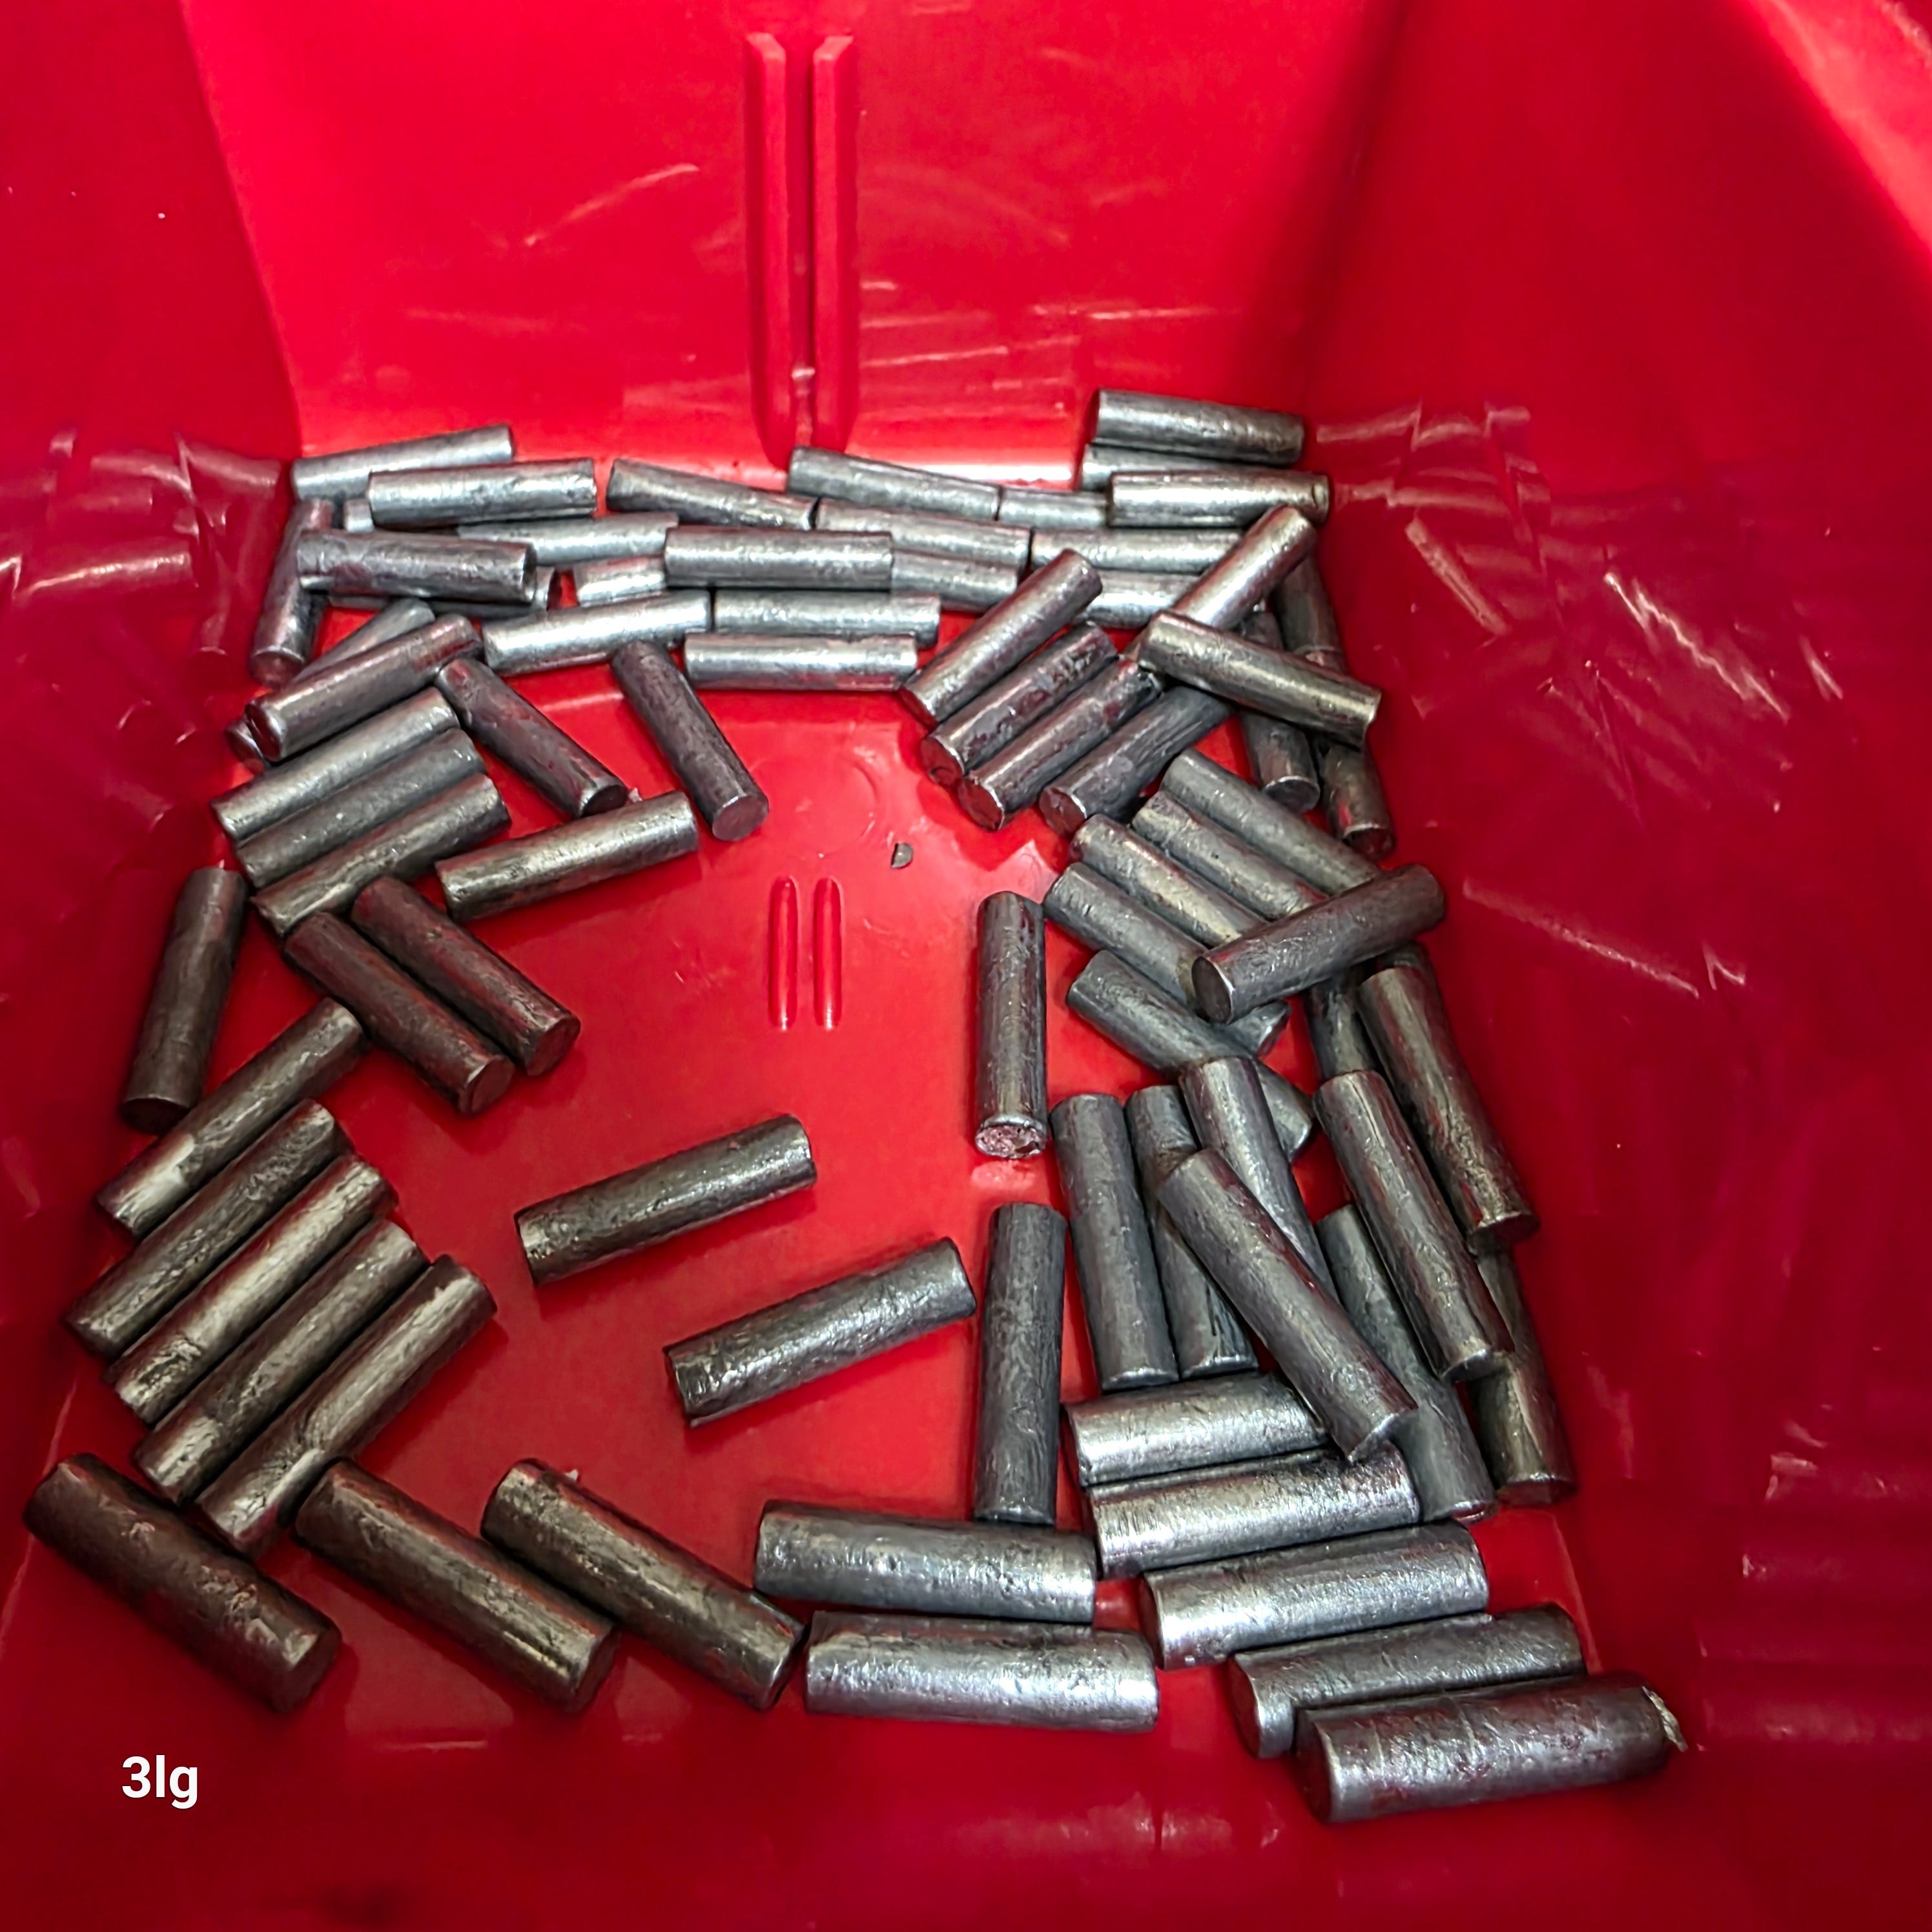
IIRC I cut these cores at 60 grains of lead. I swaged them down to 58.2 grains.
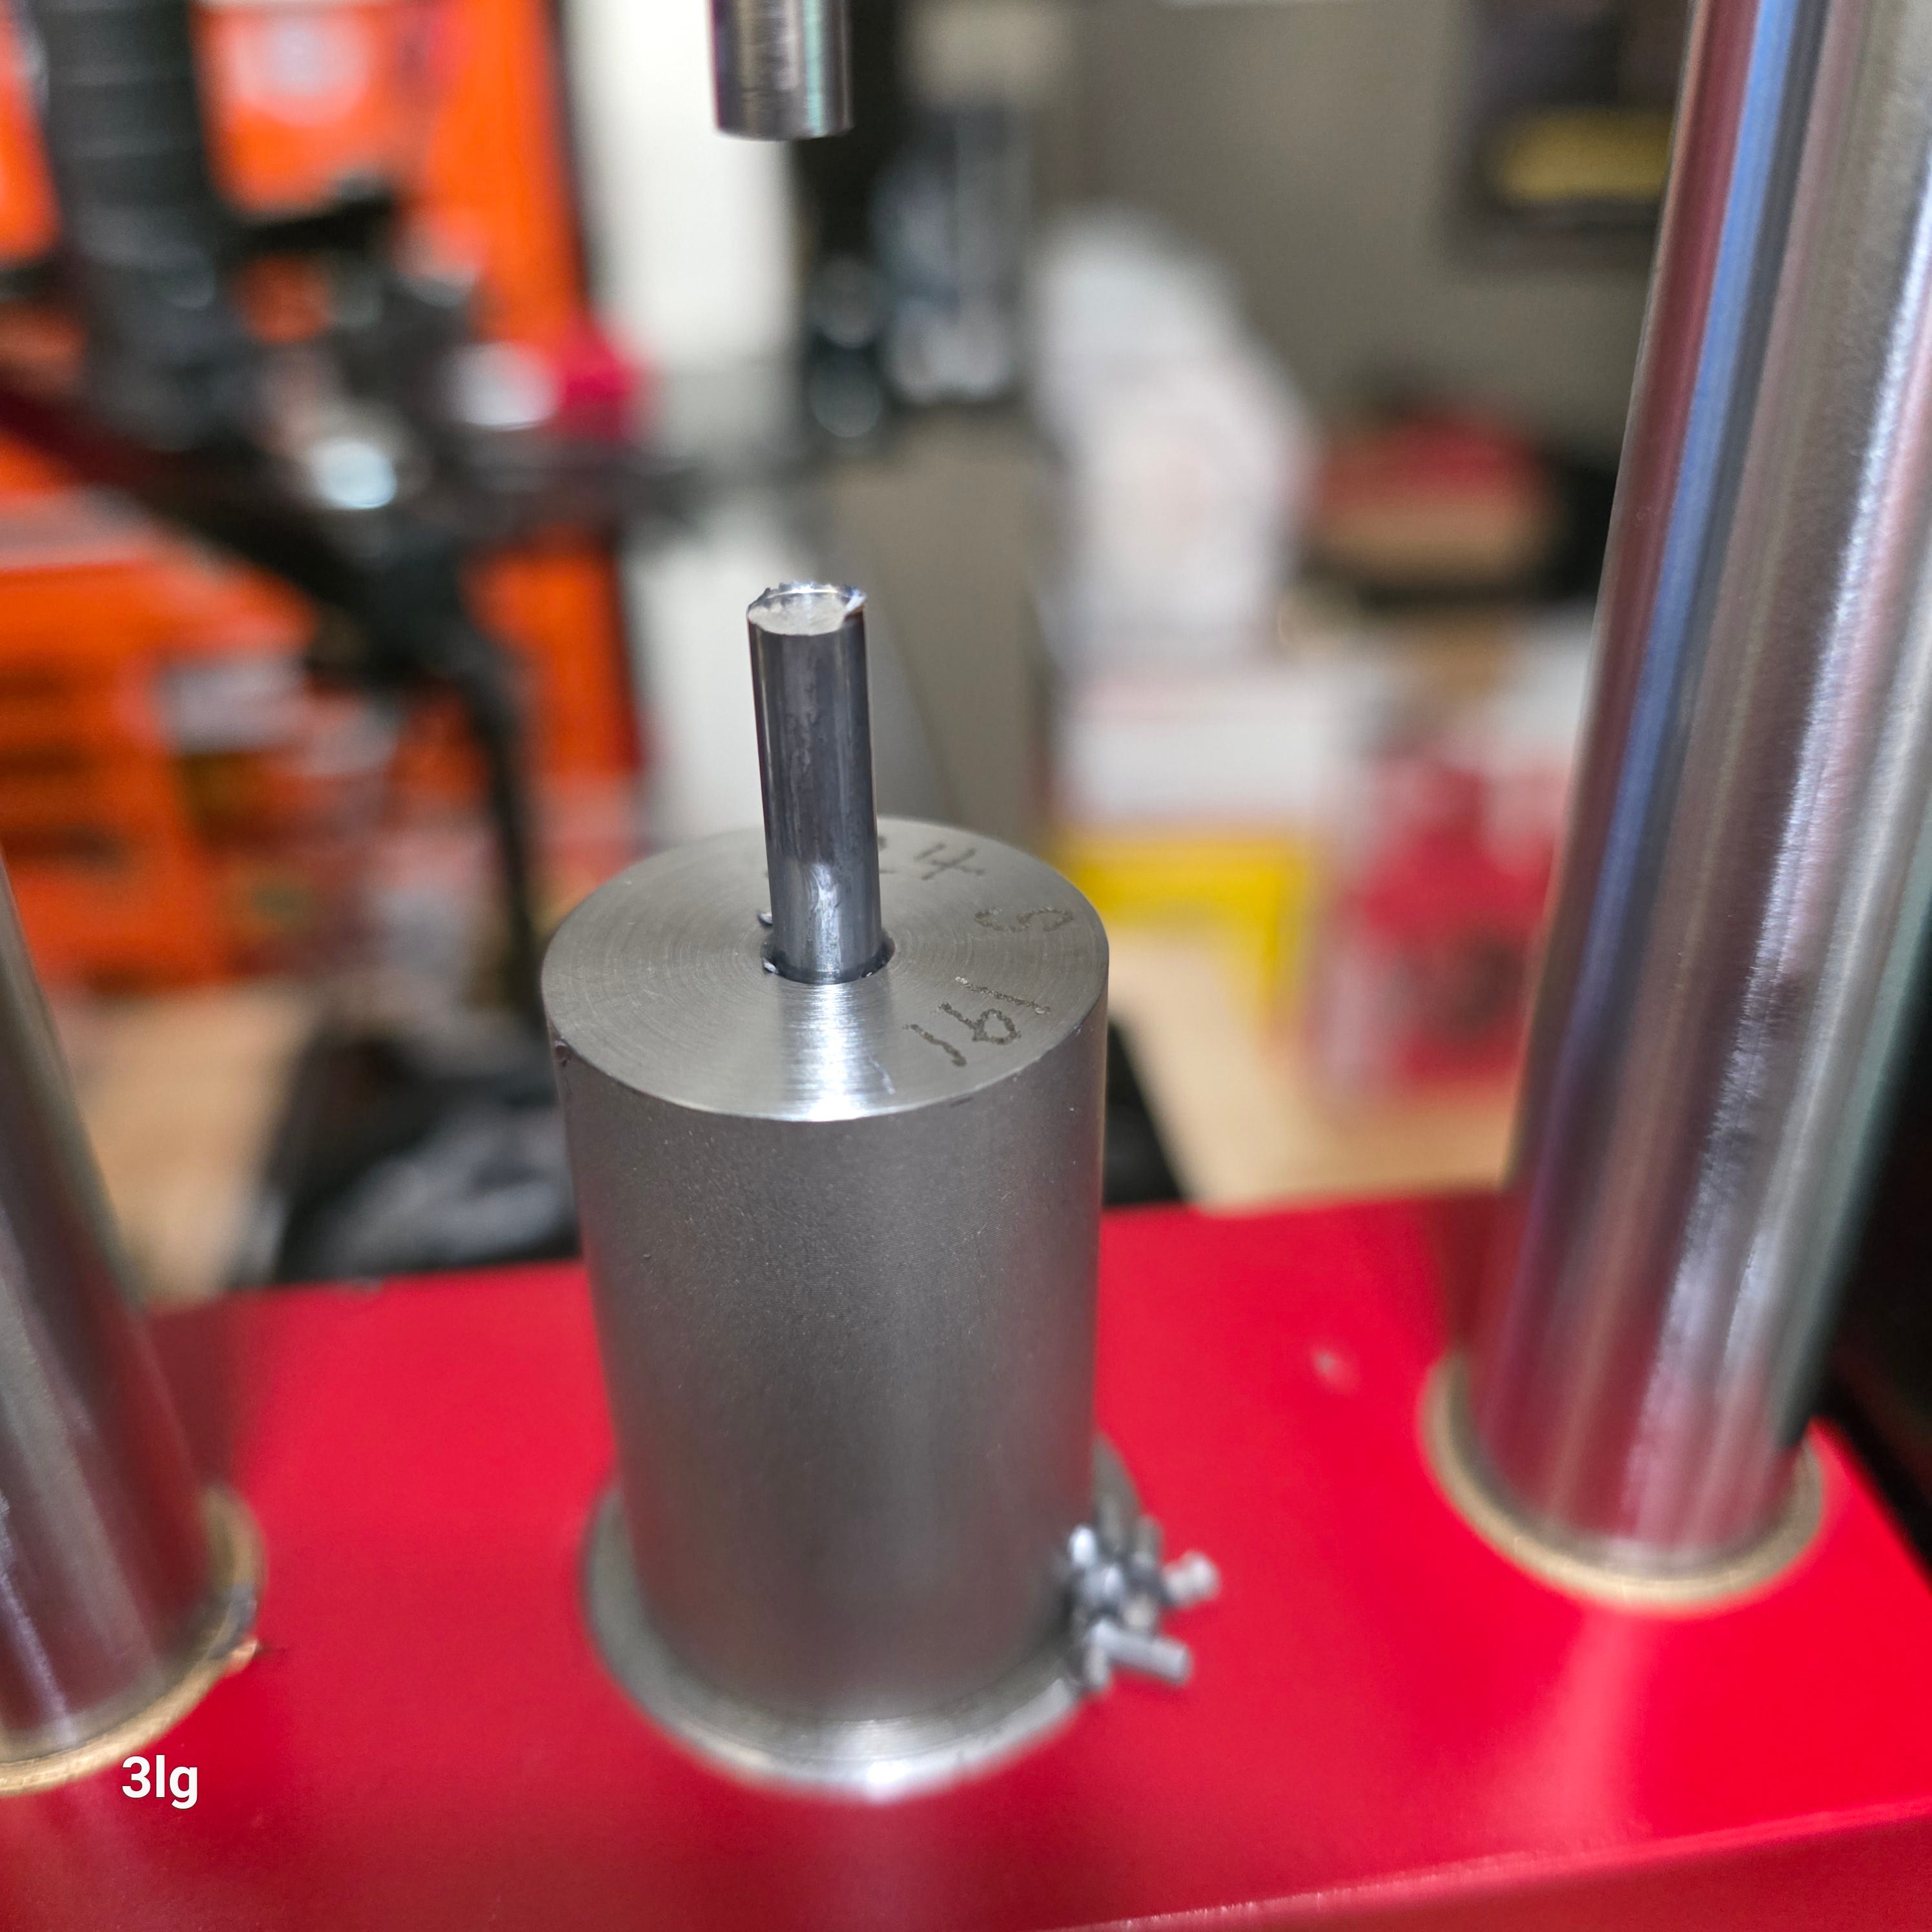
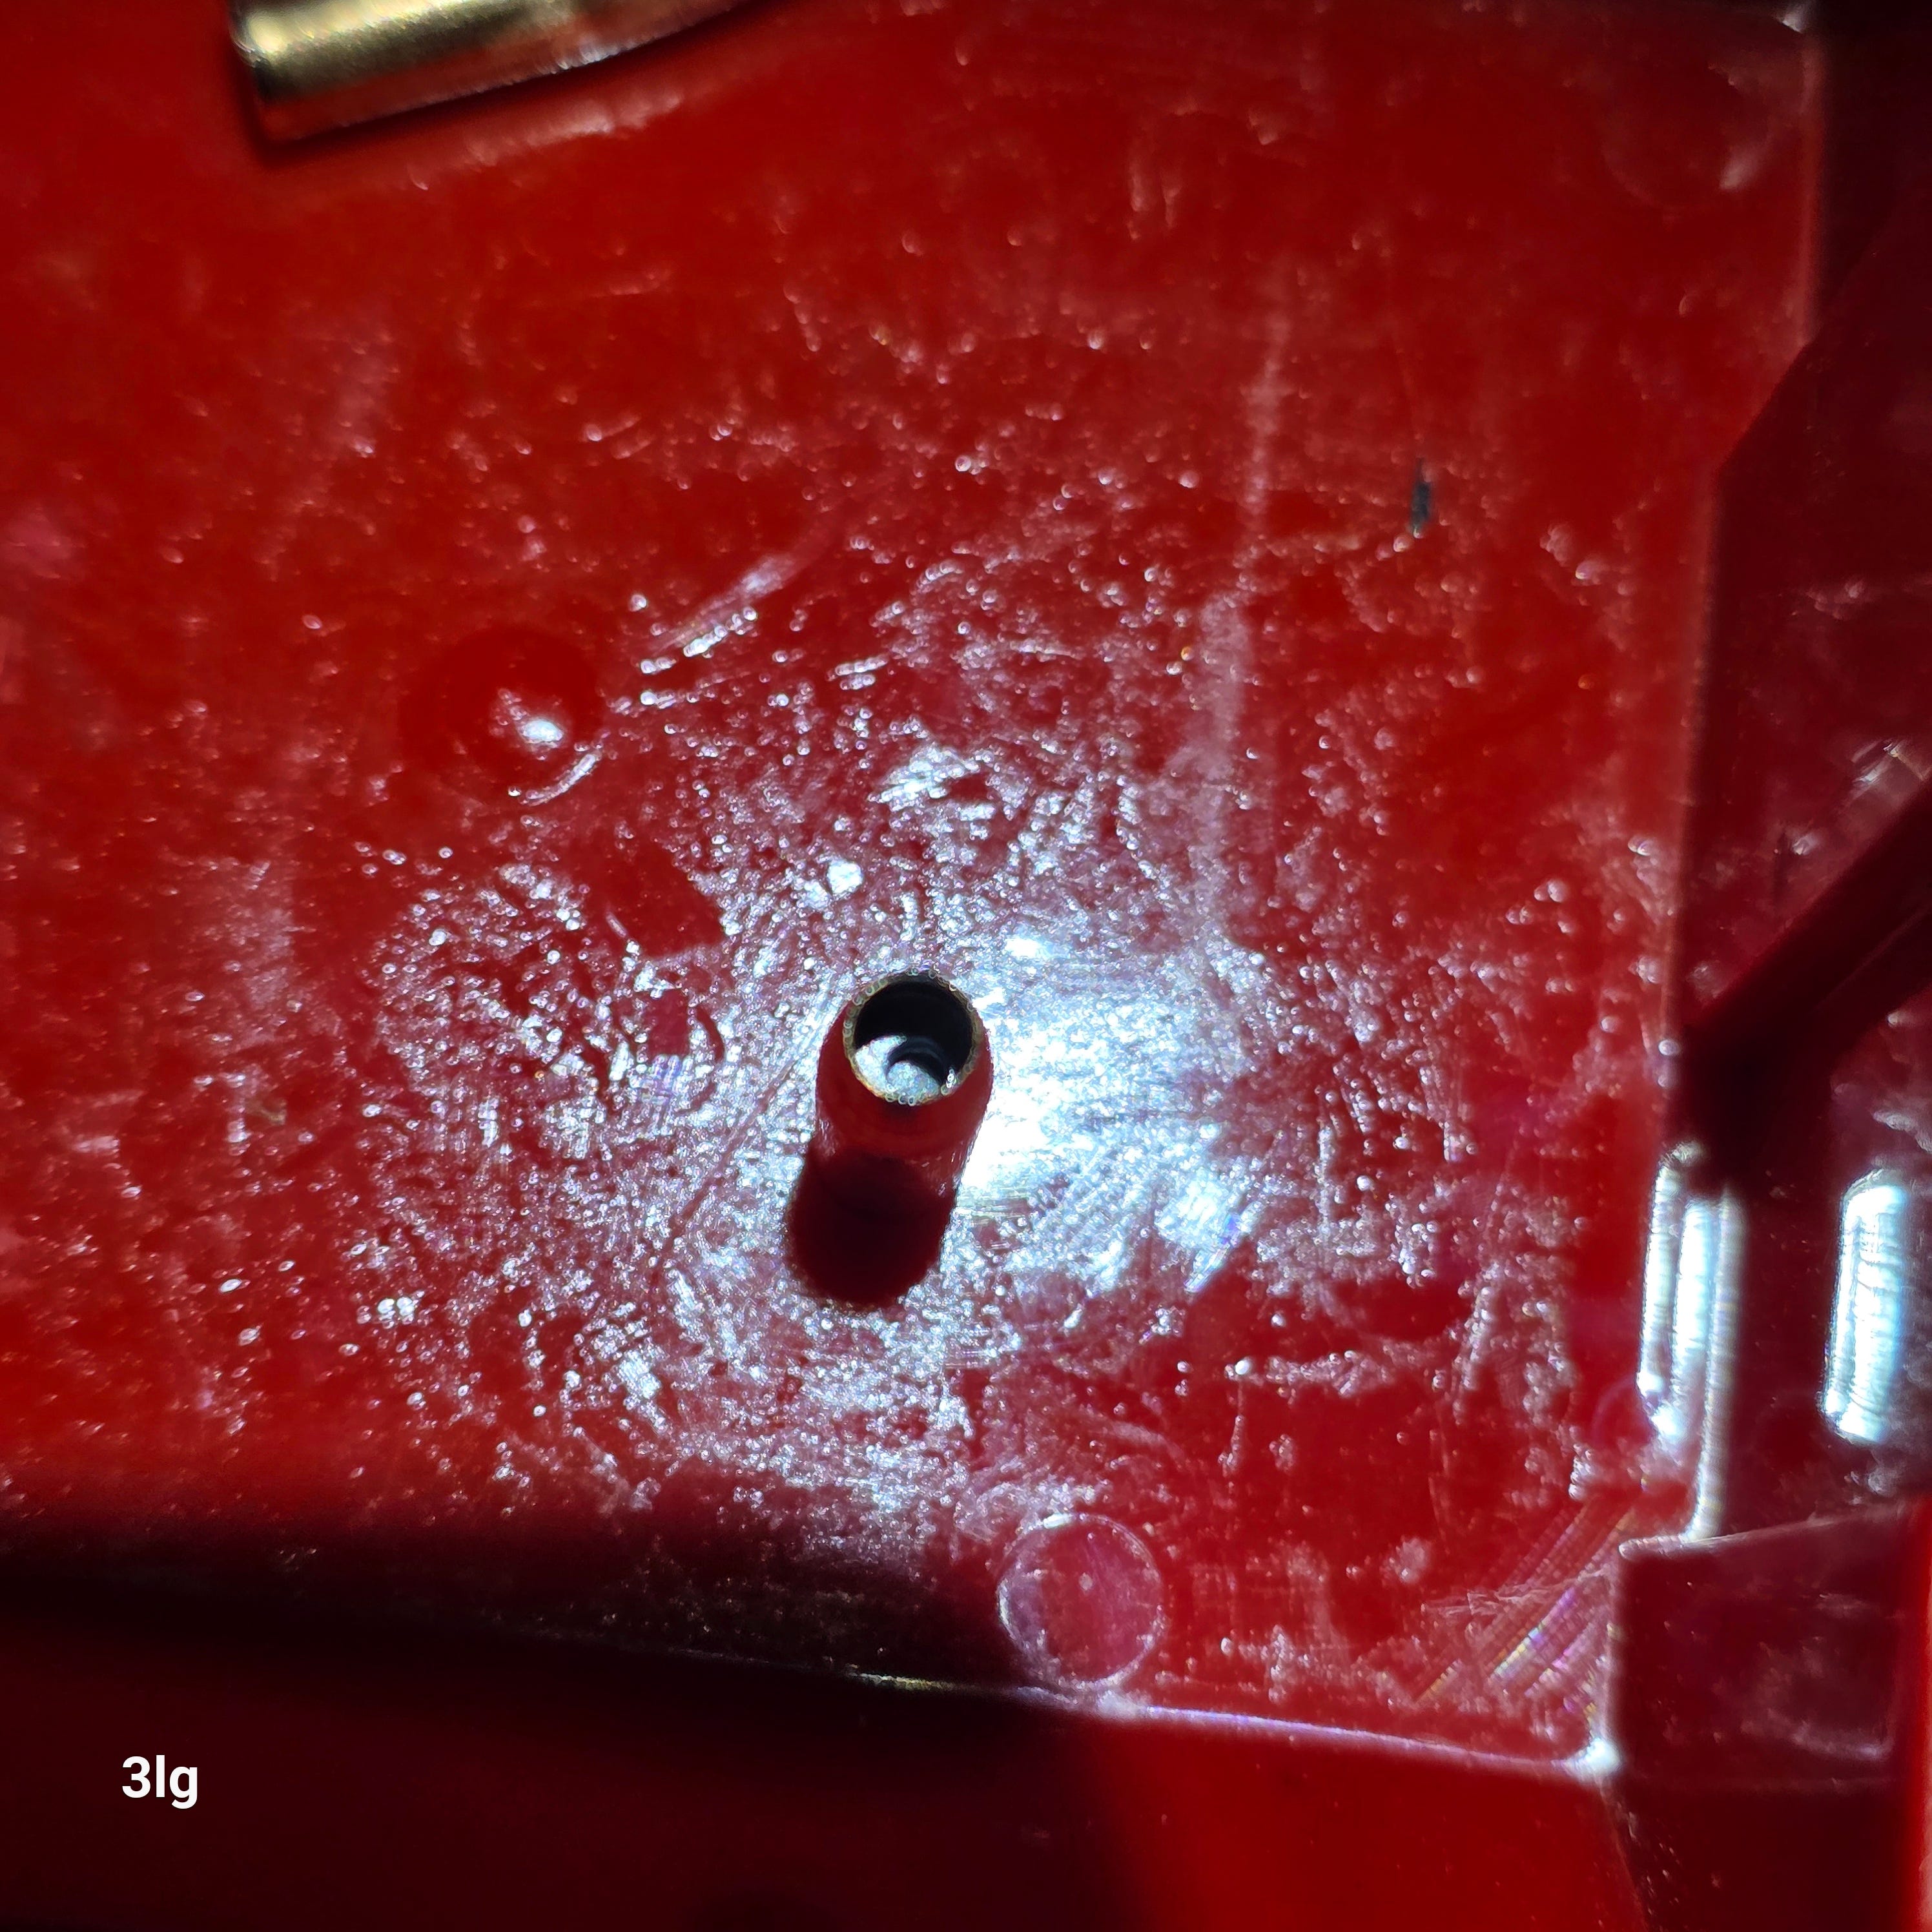
Fully swaging the lead into the core swaging die.
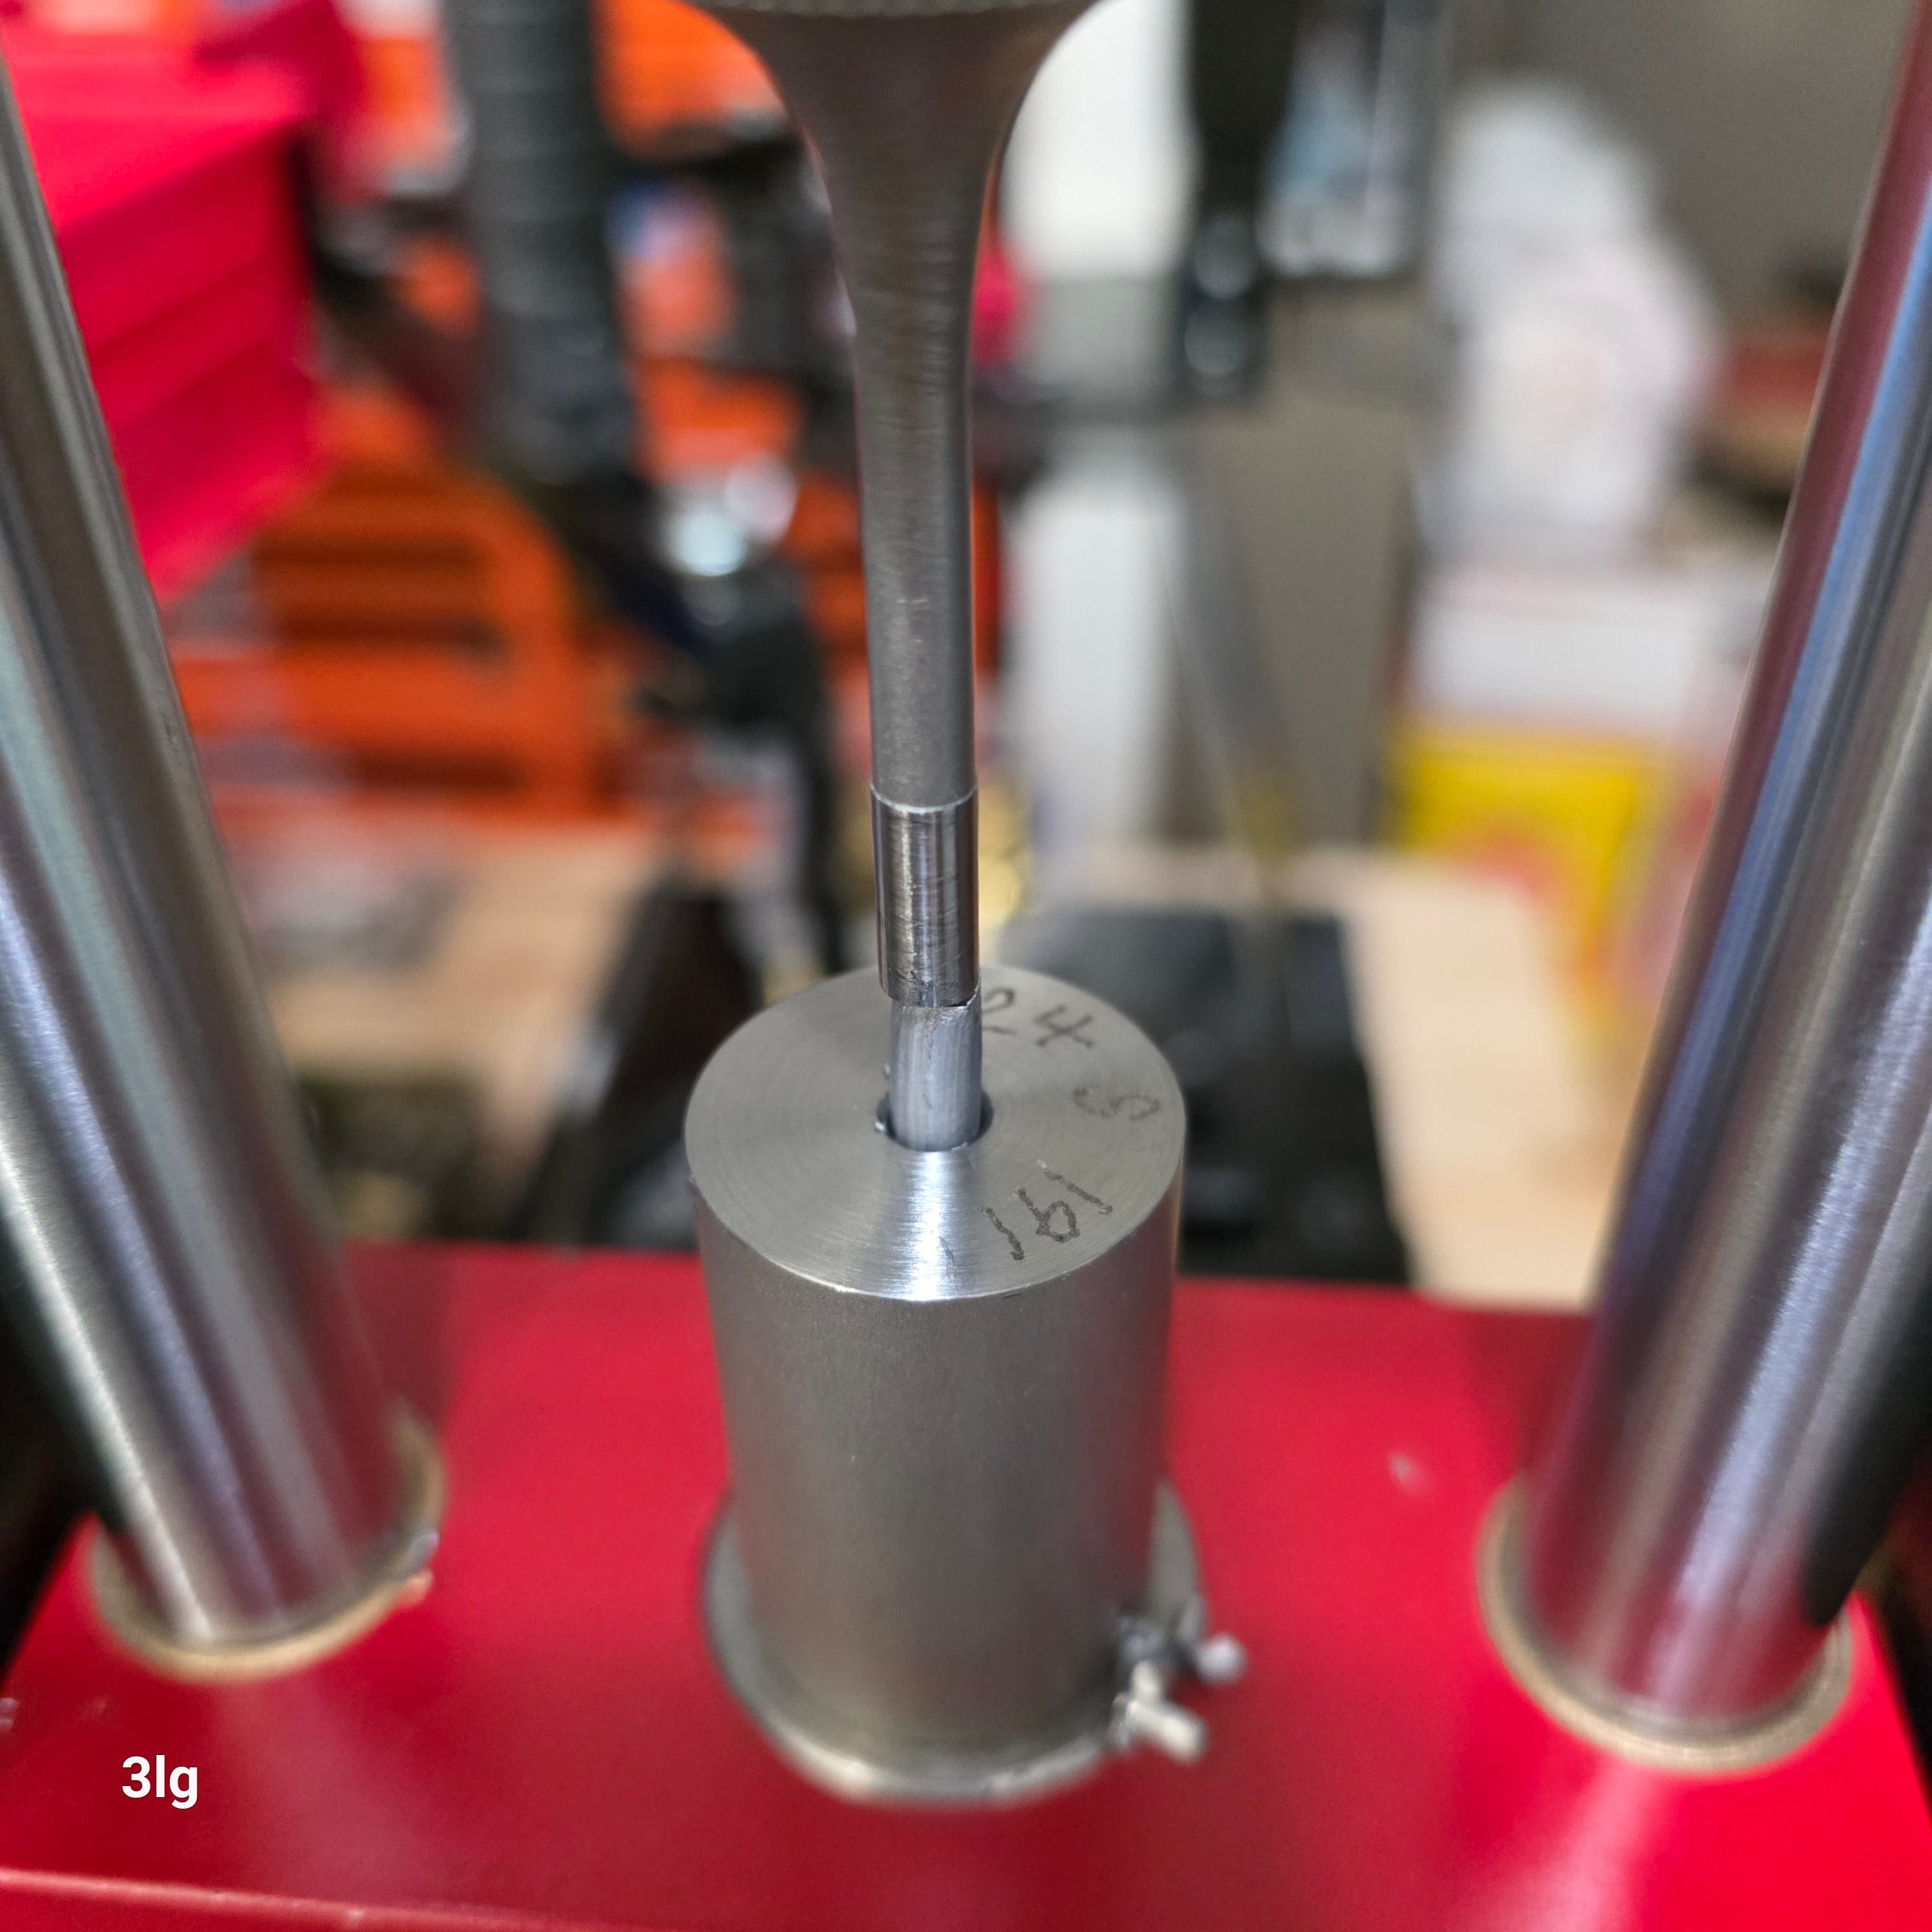
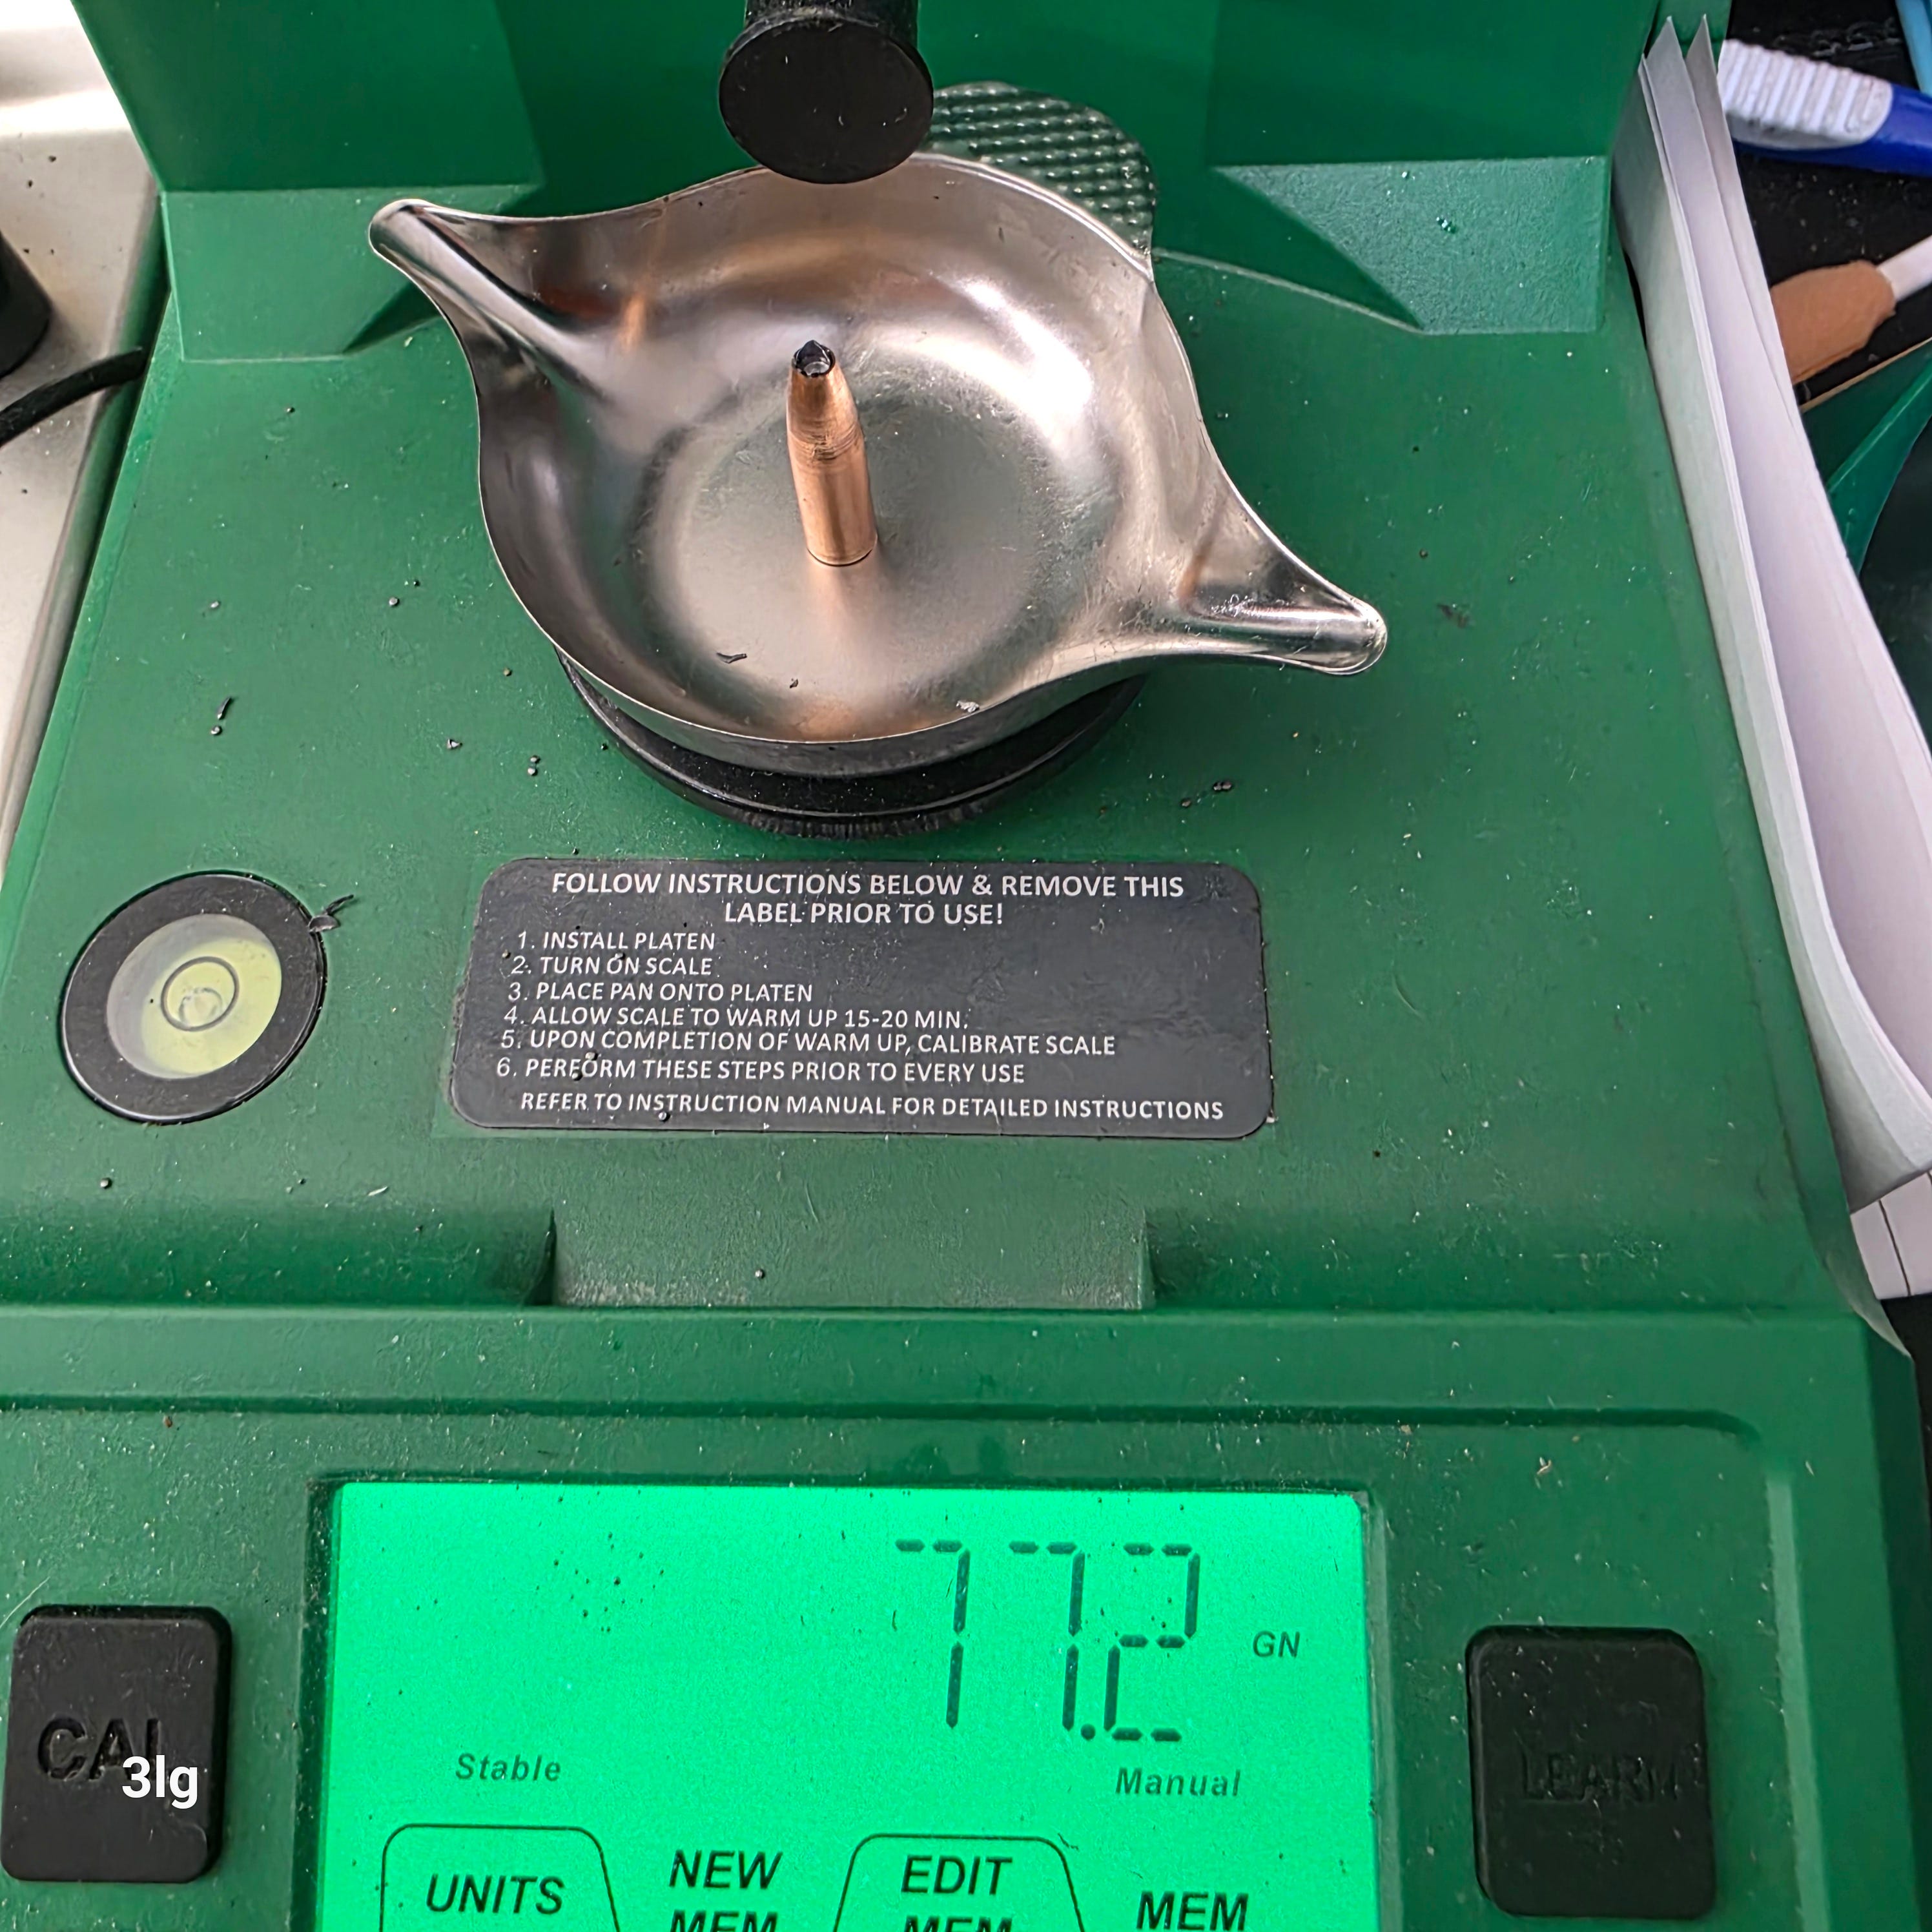
The final swaged core is 58.2 grains, and when combined with the 18.8 grains of the jacket, gives me a bullet around 77 grains.
Cores swaged.
Next, you need to swage the core into the jacket. This squishes the lead into the jacket and keeps it in place during the bullet swaging process.
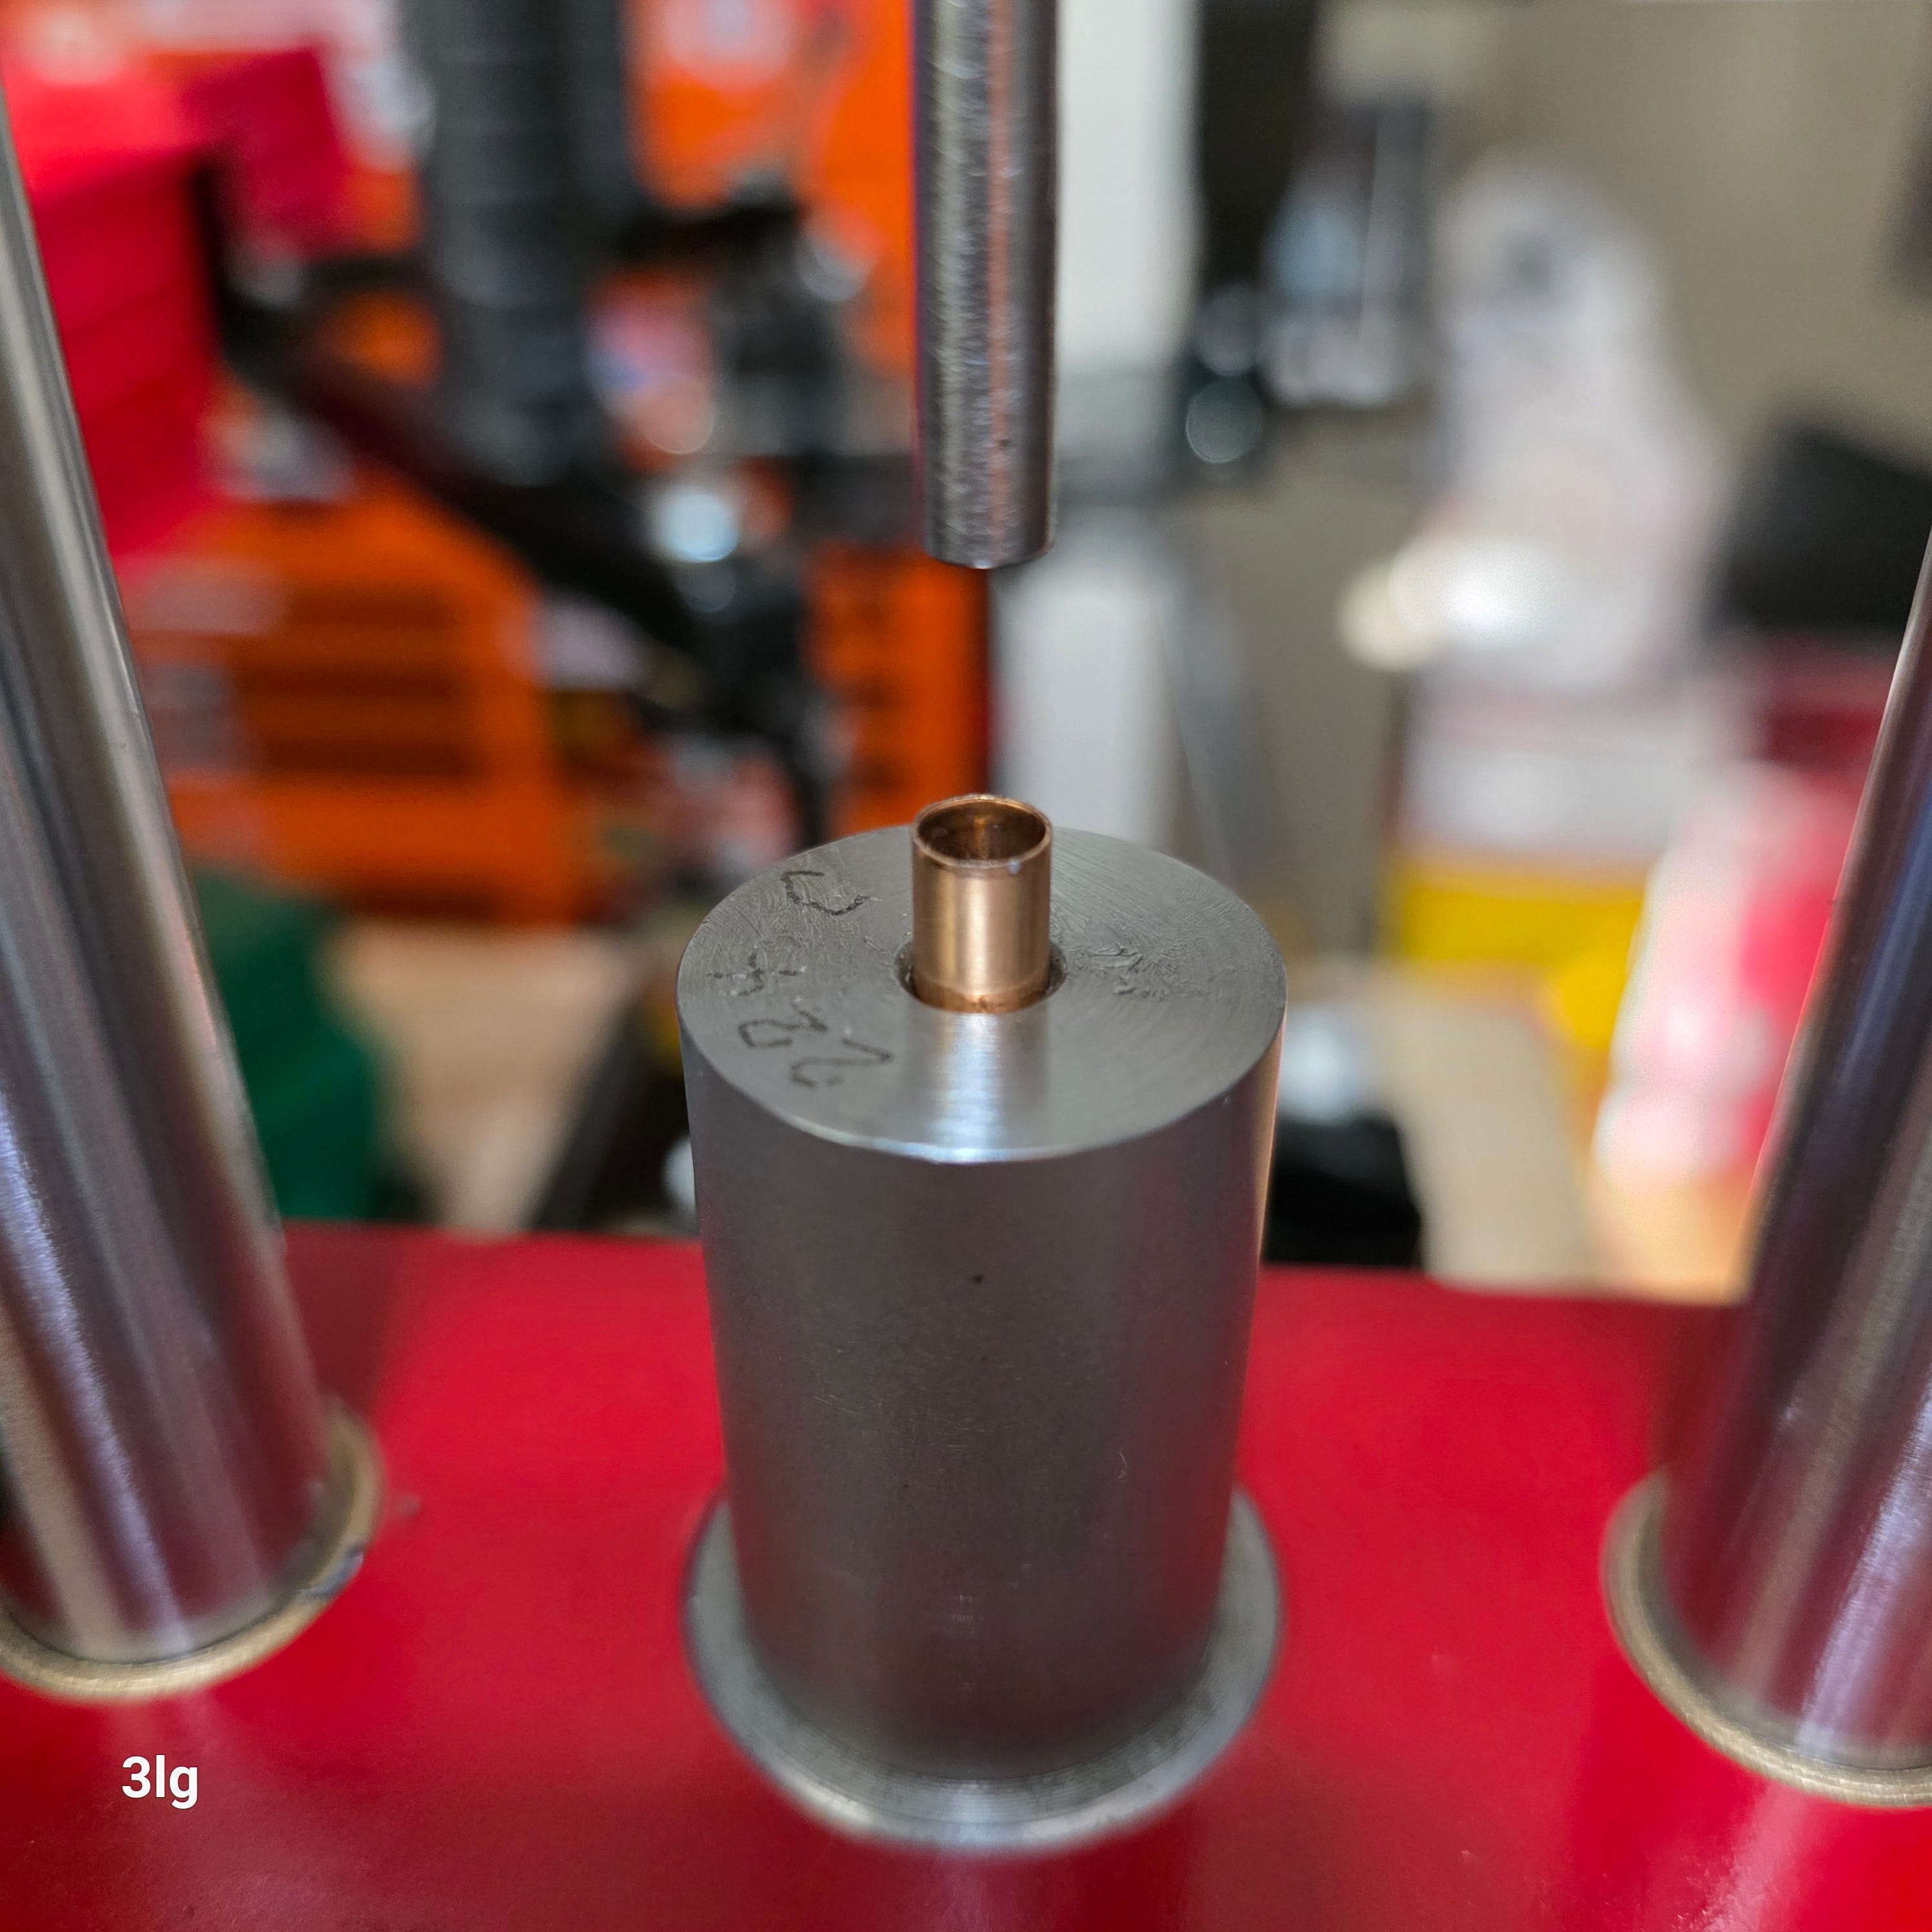
Cores and Jackets swaged together.
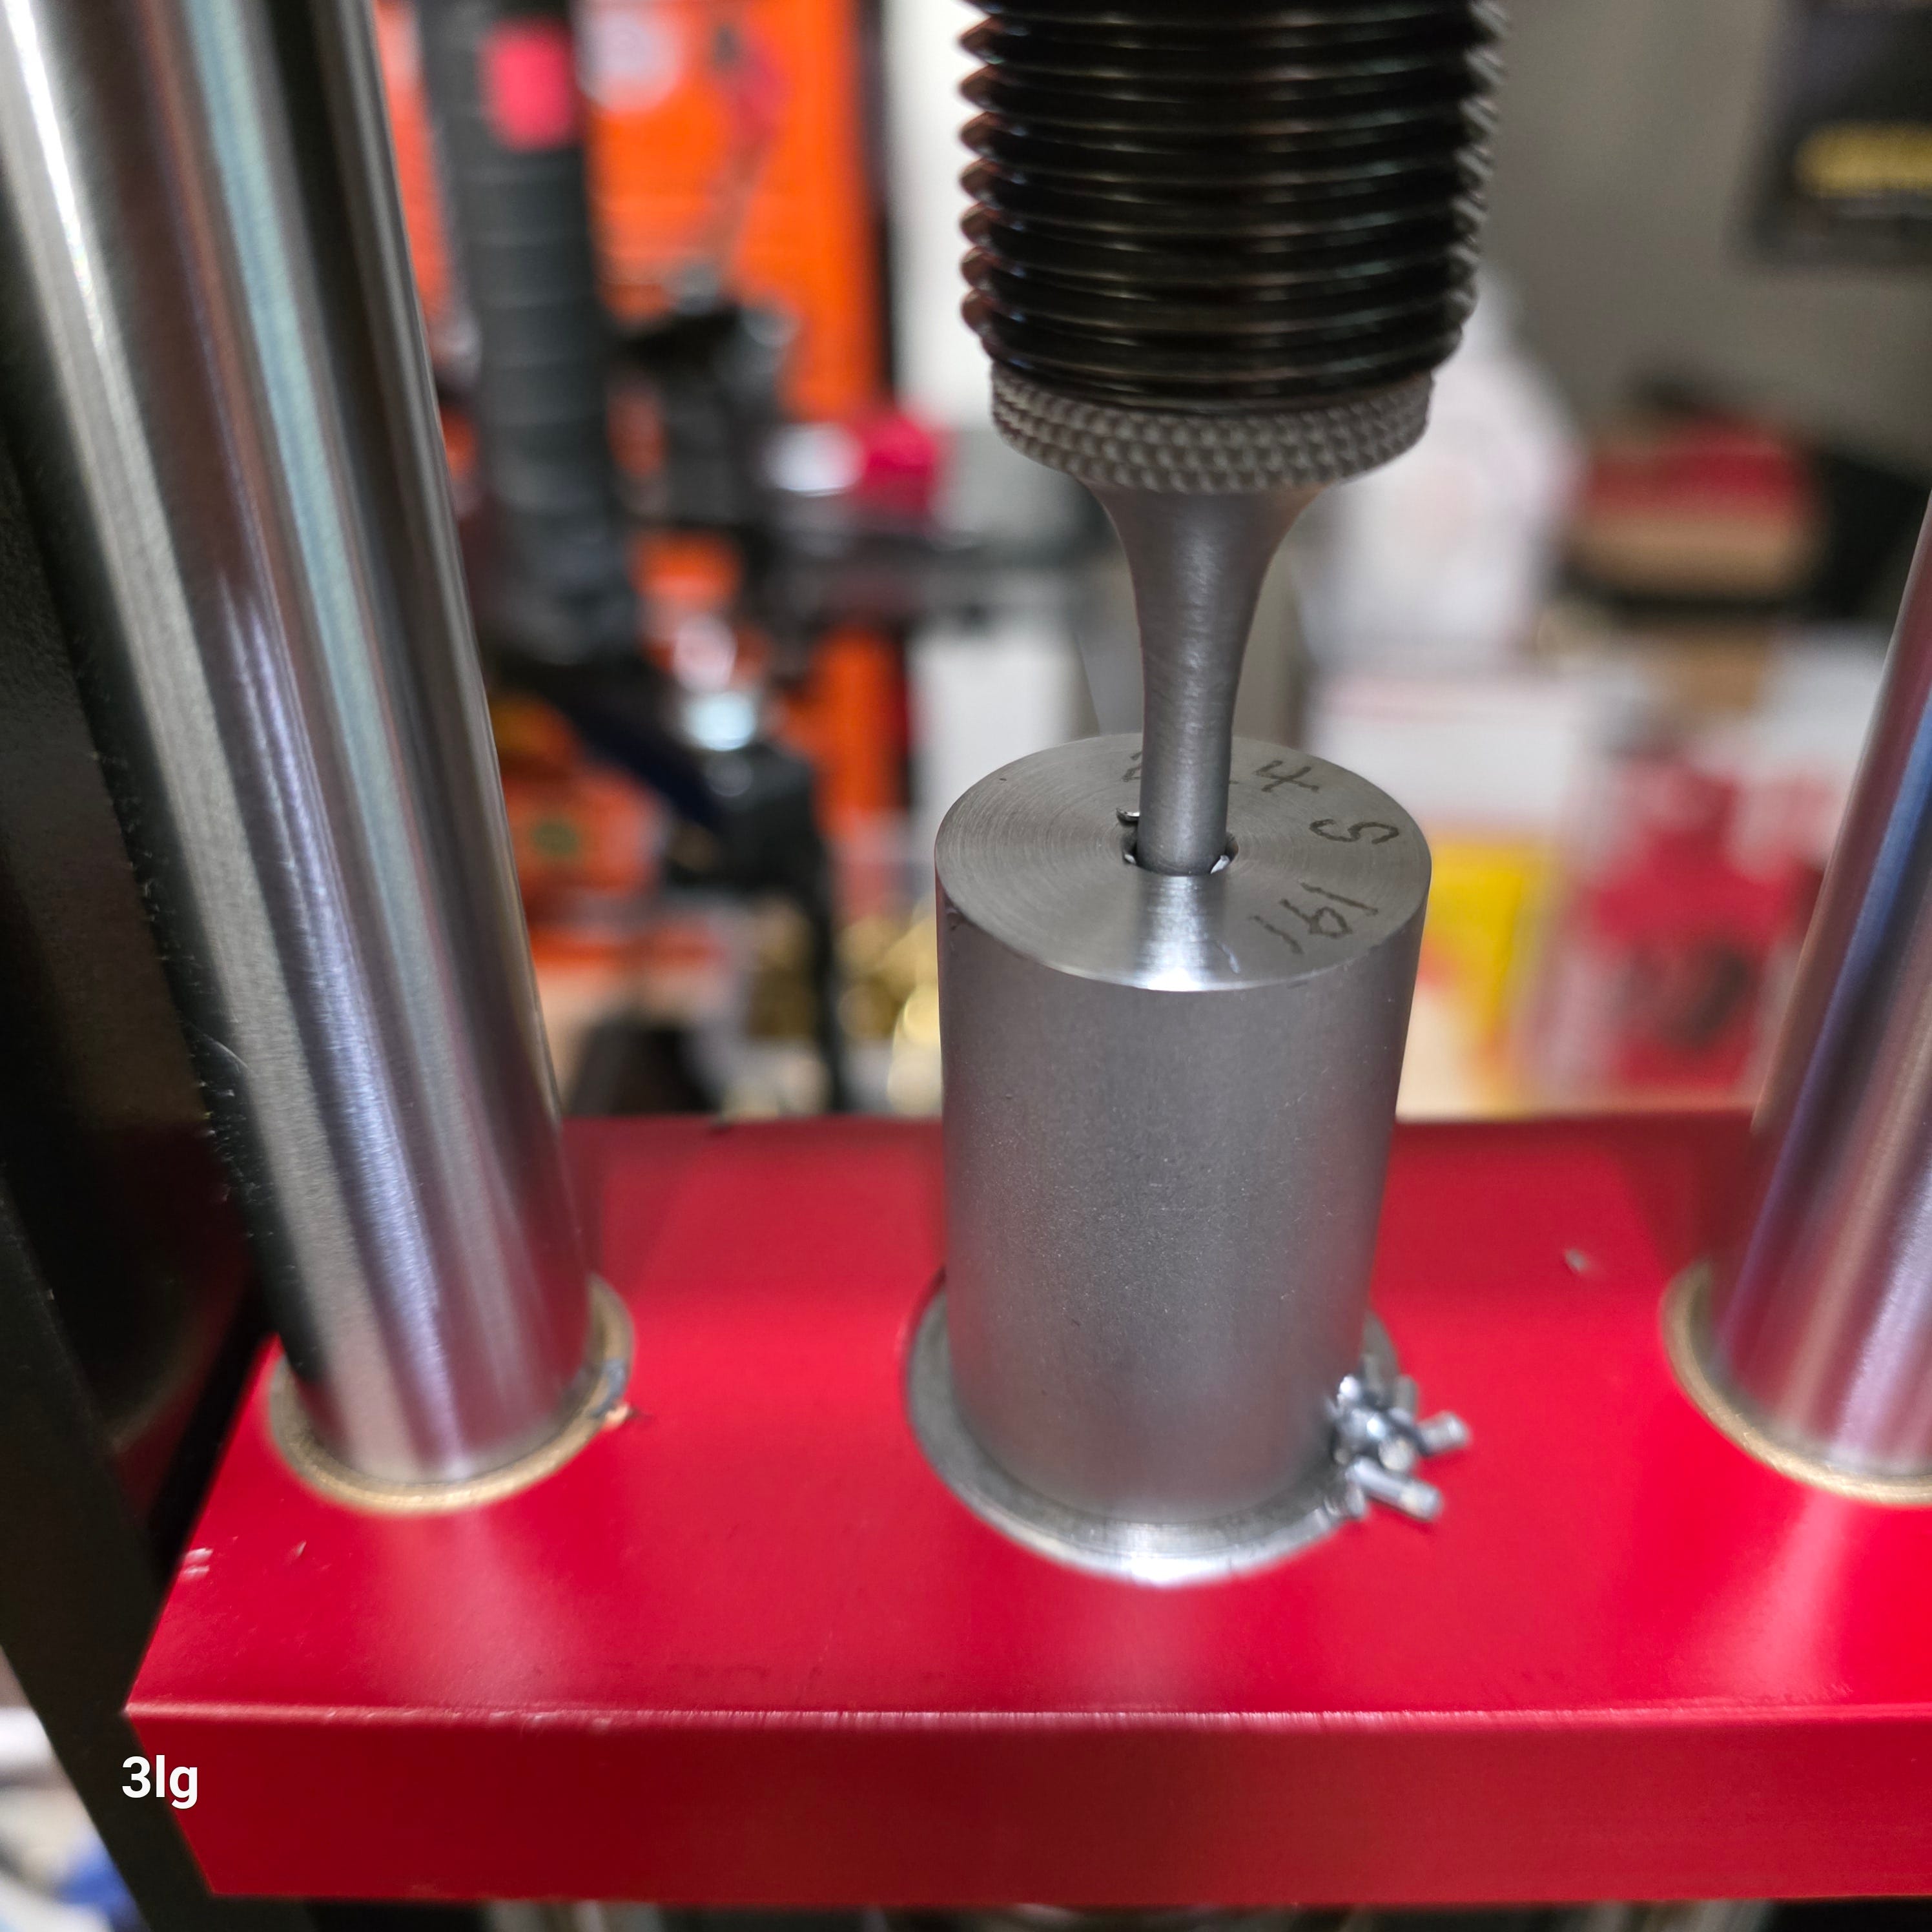
Once you’ve got your jackets with swaged cores, you are ready to swage them into a bullet. This is the part where swaging seems to have the steepest learning curve.


In the above collage, you can spot a number of artifact problems that I’ve been facing. The banding is the first problem most people notice. The second problem is the folds at the ogive. The third is the inconsistent meplat. I’m sure people more knowledgeable than I will see other issues. But, for now, these are the three primary problems I’m doing my best to overcome.
So, we are now at my latest sessions. I received a set of replacement ejection pins. I’ll not bore you with the tale of my bone-headed stupidity. Suffice it to say that the ejection pin is what pushes out the newly swaged bullet from the die.
First up is the previous session, I’ve made significant progress in the banding and meplat issues. The folds at the ogive seemed to have been resolved. I’ve been told the folding at the ogive is likely due to too much or improper lube.


The results from my latest swaging test run. First up are three bullets that were produced with a single, smooth, and consistent movement of the swaging lever. As you can see, there are a number of artifacts that are less than ideal.


The following sets of bullets were swaged in the same group as the above three. The difference was that these swaged bullets were that they were done in three steps of the swaging lever.
After step one, I remove the bullet completely from the swage press and the ejection pin.

The final stage is to complete the swaging stroke. It leaves a meplat that is more closed up and a better-looking 8S ogive, at least in my neophyte eyes.

Here are the final results of my latest test swaging attempt. It’s a vast improvement. Yet with any time of skill-based hobby, I’ve now uncovered more questions and more issues to resolve.


As I mentioned in the comment above, I should be able to achieve these results without having to swage the bullet in three steps. I’m missing some critical contextual issues that are causing problems.
I’ve no doubt I’ll get to the solution of that problem. The new issue that I also want to address is the banding at the base of the bullet. I’m not sure what’s causing it. Before I start sending these bullets down range and out of a rifle with a can I want to resolve this issue.